How to Ferment Green Beans at Home For A Healthy Gut

Fermenting green beans at home is a great way to make a healthy food. It turns fresh green beans into a tangy, crunchy snack. This snack is full of good bacteria for your gut.
To start, you need fresh green beans, grated ginger, scallions, and sea salt. The lacto-fermentation process is easy. Just soak the green beans in a brine for about two weeks at room temperature.
This makes the green beans taste amazing and gives you big health benefits. They help with mood and anxiety too.
Adding these fermented foods to your diet boosts your digestive health. It makes you feel better overall.
Understanding Lacto-Fermentation
Lacto-fermentation is an old way to keep vegetables fresh. It uses lactobacillus bacteria, a natural probiotic, to change vegetables. This makes them taste better and last longer.
What is Lacto-Fermentation?
Lacto-fermentation turns cucumbers into pickles and cabbage into sauerkraut. Bacteria eat the sugars and make lactic acid. This makes the vegetables taste tangy and keeps them fresh.
These probiotic foods are good for your gut. They help keep your digestive system healthy.
Benefits of Lacto-Fermentation
Lacto-fermentation does more than just keep vegetables fresh. It makes them healthier by adding good bacteria. This makes the vegetables easier to digest and their nutrients more useful.
So, lacto-fermentation doesn’t just keep green beans fresh. It makes them a superfood for your health.
Why Ferment Green Beans?
Fermenting green beans is a traditional way to keep them fresh. It makes them taste tangy and slightly sour. This method, called lacto-fermentation, uses natural bacteria to change sugars into lactic acid. It’s a healthier choice than canning or hot water baths.
Health Benefits of Fermented Green Beans
Fermented green beans are good for your health. They have more probiotics, which help your gut and immune system. These beneficial bacteria also make nutrients easier to absorb.
They keep more of their vitamins and minerals. This helps you stay healthy and feel good.
Flavor and Texture Enhancements
Fermented green beans taste great and feel crunchy. They stay crisp and get a tangy flavor. This makes them perfect for many dishes.
They’re also easy to use and keep. The liquid from making them is full of probiotics. It’s good for your gut. For a step-by-step guide on fermenting green beans, check out this guide.
Essential Equipment for Fermenting Green Beans
For a successful green bean fermentation, you need the right tools. The following equipment will help your beans thrive.
Mason Jars and Lids
Mason jars are perfect for fermenting green beans. They are durable and keep air out, which is key for fermentation. The tight lids also keep out unwanted stuff.
Fermentation Weights
It’s important to keep your green beans under the brine. Fermentation weights do this job well. They keep the beans covered, preventing mold and spoilage.
Importance of Non-Chlorinated Water
Non-chlorinated water is a must for fermentation. Chlorine can harm the good bacteria needed for fermentation. Use filtered or distilled water to keep your beans healthy.
Ingredients Needed To Ferment Green Beans
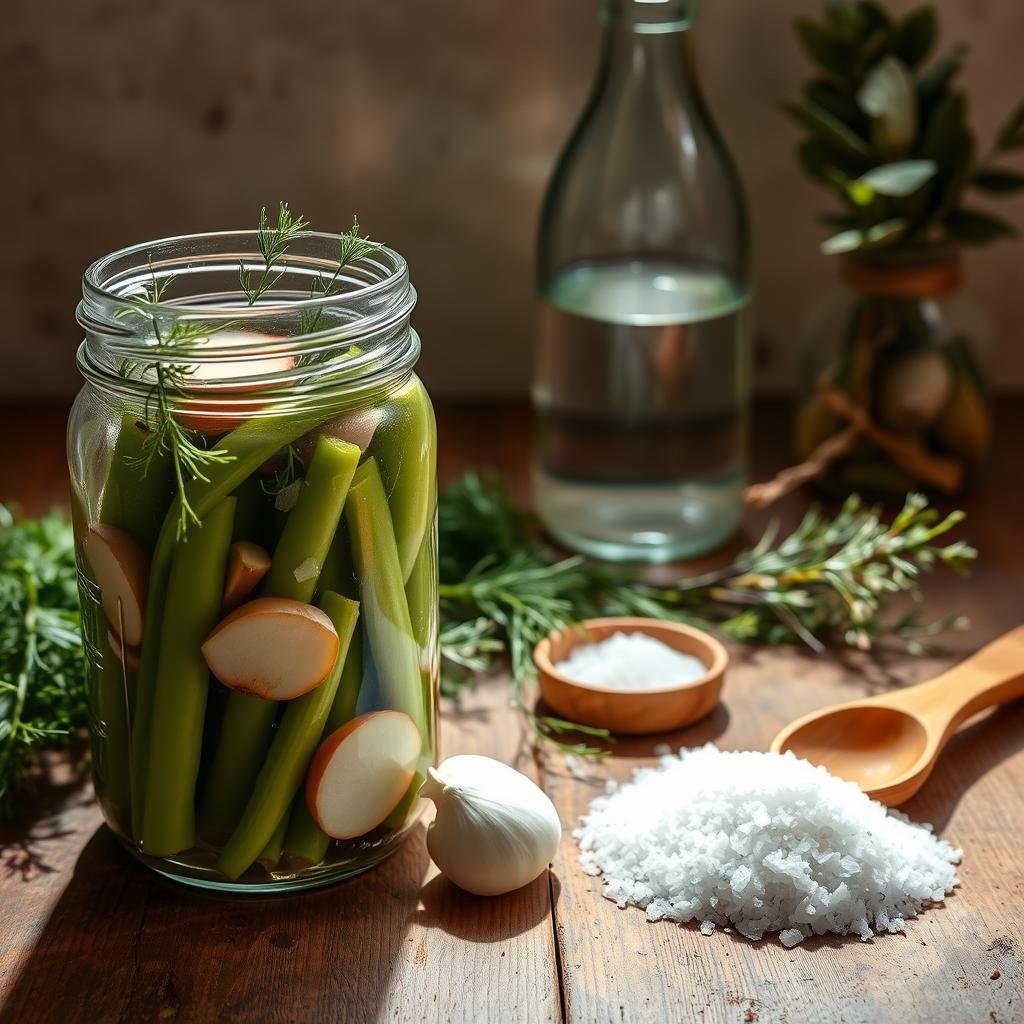
To ferment green beans well, you need to know the key *fermentation ingredients*. Choosing the right ones is important for great taste. This affects how your *fermented green bean recipe* turns out.
Choosing the Right Salt
*Non-iodized sea salt* is a must for fermenting green beans. It’s better than iodized salt because it doesn’t stop good bacteria from growing. This salt helps make the perfect brine.
Optional Add-ins for Flavor
Adding things like garlic, dill, and peppercorns can change your *fermented green bean recipe* a lot. These ingredients make your *fermented green beans* taste better. They also make the whole process more interesting and complex.
Step-by-Step Guide to Fermenting Green Beans
Fermenting green beans is a fun journey. This fermenting green beans guide will help you make tangy and crunchy beans. We’ll start with preparing brine for fermentation.
Preparing the Brine
First, make the brine. Mix 2 tablespoons of non-iodized salt with 4 cups of non-chlorinated water. Stir until the salt is gone. This brine gives the beans the right minerals for optimal fermentation conditions.
Packing the Green Beans
Then, wash and trim your green beans. Put them tightly in mason jars, leaving an inch at the top. Pour the brine over them, making sure they’re covered. Use weights to keep them down. This step is key for good preparing brine for fermentation results.
Fermentation Time and Temperature
Now, keep the beans in the right conditions. Close the jars a bit to let gases out. Keep them at room temperature, out of sunlight. The best temperature is 60-75°F. Let them ferment for 3-5 days. Check them every day until they’re just right.
Follow this fermenting green beans guide for a tasty, healthy snack.
Maintaining and Monitoring the Fermentation Process
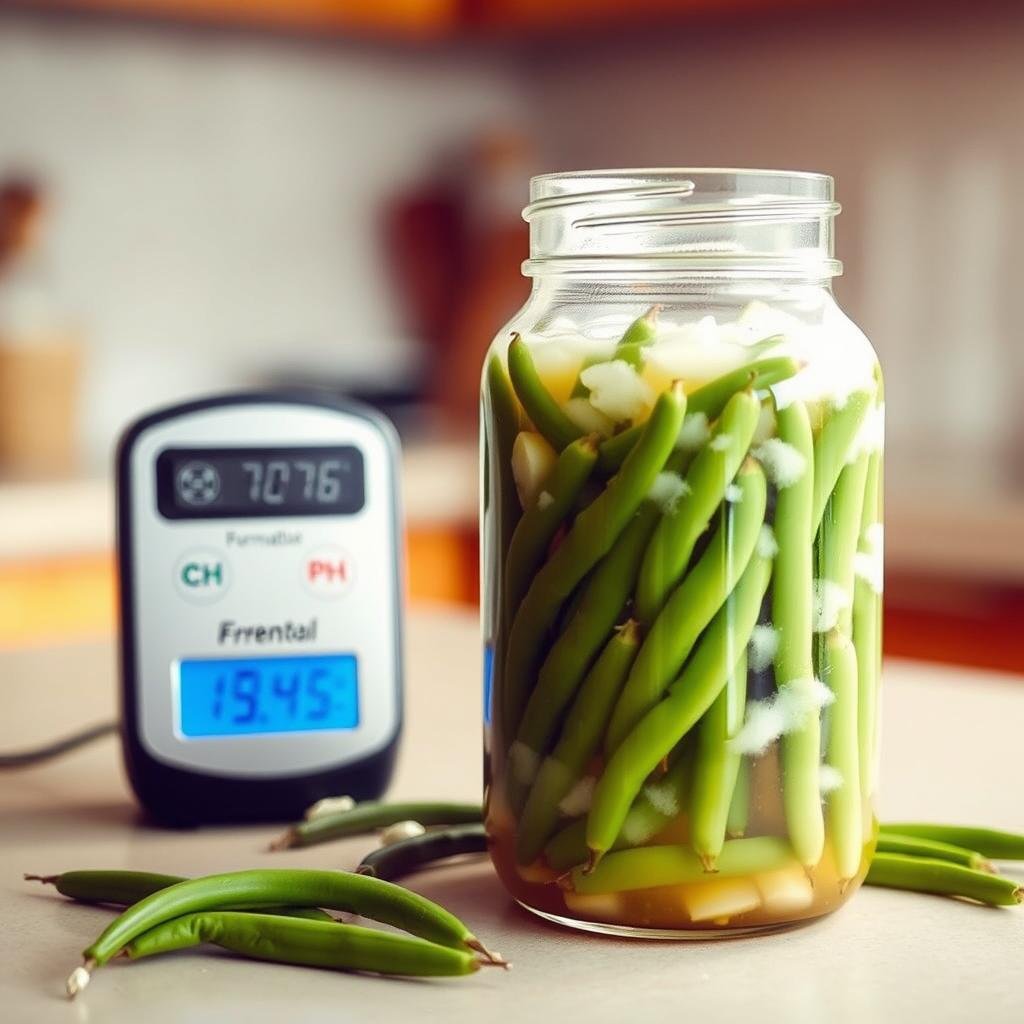
Keeping an eye on fermentation monitoring is key to your fermented green beans’ health. Check the surface for mold often. This stops bad bacteria from growing. If you see mold, remove it right away to keep the brine safe.
Don’t forget to taste the green beans now and then. This lets you know if they’re just right. If they’re too salty or the brine looks cloudy, you might need to make some changes. Staying on top of these details is vital for keeping fermentation healthy.
It’s also important to keep the temperature steady. Fermentation works best at 65-75°F. If the temperature changes, it can mess up the process. Make sure the green beans stay under the brine to avoid spoilage and help fermentation go smoothly.
| Aspect | Action |
|---|---|
| Surface Mold | Remove immediately |
| Tasting | Check flavor periodically |
| Temperature | Maintain 65-75°F |
| Brine Levels | Keep beans submerged |
By following these steps, your green beans will ferment well. This will make them taste better and be more nutritious. Regular fermentation monitoring and care for maintaining fermentation health will help you succeed in fermentation.
Common Issues and Troubleshooting
Fermenting green beans can be rewarding, but it has its challenges. It’s important to fix these problems quickly to make sure your batch is safe and tasty.
Dealing with Mold
Fermentation mold is a common problem. It happens when green beans get too much air. Using weights to keep the beans under water helps a lot. If you see mold, throw out the batch to stay safe.
Identifying Fermentation Problems
Spotting fermentation problems early can prevent big issues later. Signs like a bitter taste or bad smells mean something’s wrong. For more help, check out this troubleshooting guide.
Another issue is when the brine disappears. This can happen if veggies soak up the liquid or if CO2 pushes it out. A cloudy brine is good, but a slimy one might mean too high a temperature or sweet veggies. With the right steps and patience, you can fix these problems.
Storing Your Fermented Green Beans
Storing fermented green beans right is key to keeping their flavor. When storing fermented vegetables, like green beans, follow the best methods. This not only keeps them fresh longer but also makes them taste better over time.
Best Practices for Long-Term Storage
Move the jar to the fridge after 4-5 days of fermentation at room temperature. This slows down fermentation and lets flavors grow. Before putting it in the fridge, cover the jar with parchment paper to protect the rubber seal from the brine.
Label your jars with what’s inside, the date, and any seasonings. This keeps things organized.
How Long Do Fermented Green Beans Last?
Fermented green beans can last a long time if stored right. In the fridge, they can stay good for months, getting tastier with age. They get richer in flavor, like all fermented foods.
Keep your jars in a cool, dark spot to make them last even longer.
| Storage Method | Longevity |
|---|---|
| Room Temperature | 4-5 days (initial fermentation) |
| Refrigerator | Several months |
Different Fermentation Techniques
There are many ways to preserve and flavor green beans through fermentation. Each method has its own benefits and results. The brine’s salt level and the seasonings used greatly affect the taste and texture of fermented green beans.
One common method is using a saltwater brine. The brine’s salt level changes based on the green beans. This method keeps green beans crunchy and fresh.
Another method is dry salting. Here, green beans are layered with salt and ferment in their juices. This makes the flavor more intense.
Seasonings like garlic, dill, chili flakes, or mustard seeds are often added. These not only improve the taste but also boost the nutritional value of the green beans.
Knowing the differences in these methods helps you pick the best one for your taste and texture goals. Here’s a look at some popular techniques:
| Technique | Brine Concentration | Common Seasonings | Flavor Profile |
|---|---|---|---|
| Saltwater Brine | 2-3% Salt | Garlic, Dill | Crunchy, Savory |
| Dry Salting | 5-8% Salt | Chili Flakes, Mustard Seeds | Intense, Spicy |
| Mixed Brine | 1-2% Salt with Seasonings | Bay Leaves, Peppercorns | Aromatic, Balanced |
Exploring these methods can help you find the perfect way to preserve green beans. Whether you want a crunchy texture or a bold flavor, each method adds a special twist to this healthy food practice.
Recipes Using Fermented Green Beans
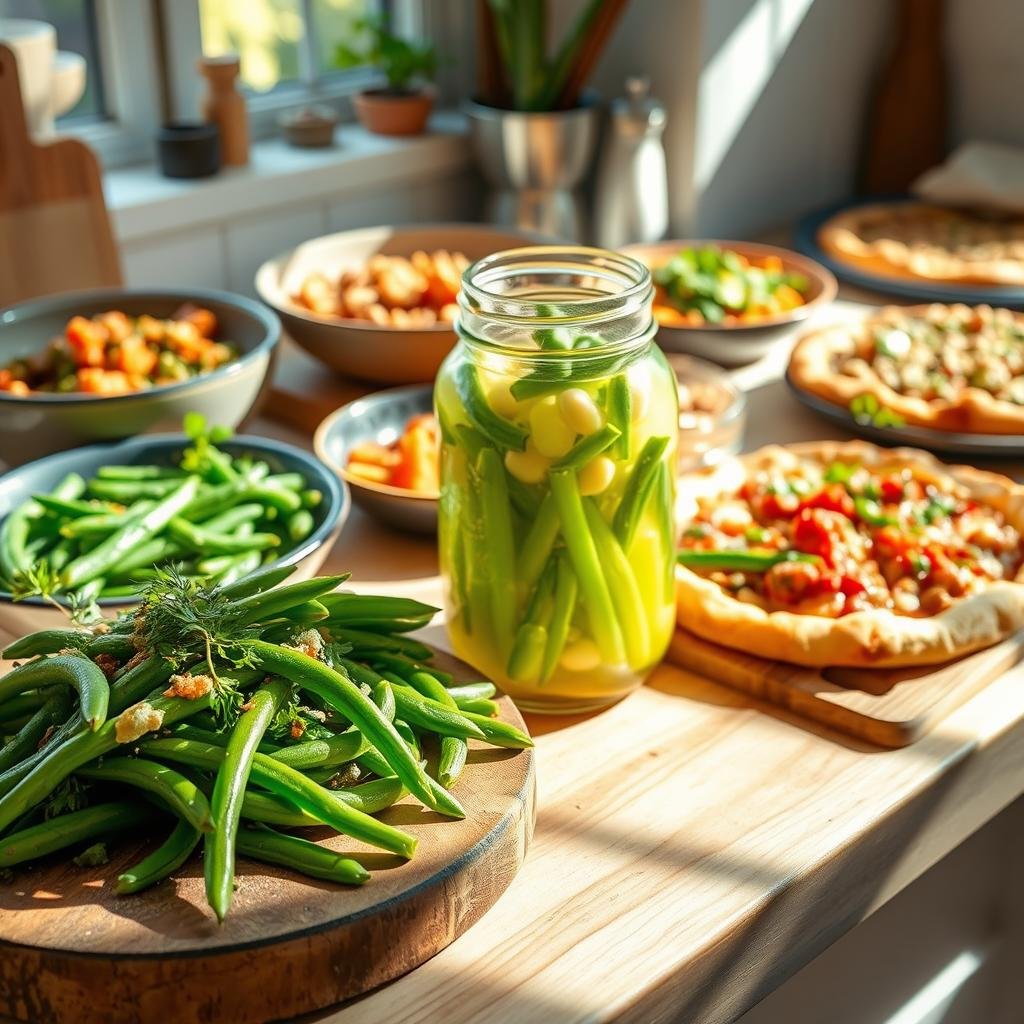
Adding fermented green beans to your meals is great. They boost nutrition and flavor. Here are some tasty ways to use them.
Incorporating Fermented Green Beans in Salads
Fermented green beans add a zing to salads. They make simple salads taste like gourmet dishes. Here are some ideas:
- Garden Salad with Fermented Green Beans: Mix fresh veggies like lettuce, cucumbers, and tomatoes. Add chopped fermented green beans for extra flavor and probiotics.
- Quinoa and Bean Salad: Mix cooked quinoa, black beans, corn, and avocado. Add fermented green beans. Dress with a light vinaigrette for a healthy meal.
- Asian-Inspired Slaw: Shred cabbage, carrots, and bell peppers. Add sliced fermented green beans. Dress with sesame-ginger dressing for a tangy side dish.
Using Fermented Green Beans as a Snack
Fermented green beans are great for snacking. Here are some ideas:
- Plain and Simple: Enjoy fermented green beans straight from the jar. They’re a healthy, easy snack.
- Cheese Platter Addition: Add fermented green beans to cheese and charcuterie boards. Their tangy flavor goes well with cheese and meats.
- Veggie Sticks: Pair fermented green beans with carrot and celery sticks. Dip them in hummus or Greek yogurt for extra flavor.
Frequently Asked Questions About Ferment Green Beans
Fermenting green beans at home is exciting. You might have many questions. Here, we answer the most common ones:
- What types of green beans are best for fermentation? Choose fresh, organic green beans. They should be firm and without blemishes.
- What kind of salt should I use? Use non-iodized salts like sea salt or kosher salt. They won’t harm the fermentation.
- How can I prevent mold formation? Use a fermentation weight to keep beans under brine. Also, make sure your vessel is clean.
- How long should I ferment green beans? Fermentation time varies. It usually takes 1-4 weeks. Watch for taste and environmental changes.
- What if my fermented green beans taste too salty? Rinse them to lessen saltiness. Or, use less salt next time.
For more questions, the right tools and a controlled environment are key. Knowing lacto-fermentation basics helps too.
Here’s a quick guide for a smooth ferment:
| Tip | Why It’s Important |
|---|---|
| Choose fresh, organic green beans | Ensures a cleaner, more vibrant flavor and texture |
| Use non-iodized salt | Prevents inhibitors that might hinder the fermenting process |
| Use fermentation weights | Keeps beans submerged, reducing mold risk |
| Ferment in a cool, dark place | Maintains a steady temperature to enhance fermentation |
| Monitor and taste frequently | Ensures the beans reach your desired level of fermentation |
Additional Fermented Vegetable Recipes
Trying out different fermented vegetable recipes can make your cooking better and help your gut. You can ferment carrots, cucumbers, and beets. Each one tastes unique and is good for you. Let’s look at what makes these foods special.
Fermented Carrots
Fermenting carrots makes them crunchy and tangy. It makes a simple carrot into a tasty snack. First, clean and cut the carrots. Then, make a brine with non-iodized salt.
You can add dill, garlic, or chili flakes for extra flavor. For more info on how to ferment, check out Fermenting For Foodies.
Fermented Cucumbers
Fermented cucumbers, or pickles, are loved by many. They turn into crunchy, probiotic snacks. Start with fresh cucumbers, then soak them in saltwater brine.
You can add garlic, dill, or mustard seeds for flavor. Black tea leaves can also be used to keep them crisp.
Fermented Beets
Beets are great for fermenting, with their earthy taste and bright color. Slice them thin and soak them in brine. You can add ginger or cloves for a sweet and spicy taste.
Fermented beets add probiotics to your diet and look great in salads and bowls.
Adding fermenting carrots, cucumbers, and beets to your cooking is good for your diet and gut. Try different flavors and methods to enjoy these vegetables in new ways.
Benefits of Including Fermented Foods in Your Diet
Eating fermented foods can really help your health. They are full of probiotics, which are great for digestion. These tiny helpers keep your gut bacteria in balance.
This balance is key for better digestion and less bloating. It also helps with stomach problems.
Fermented foods also boost your immune system. Foods like kimchi and kefir can make your body fight off sickness better. This means you might get sick less often.
Another big plus is that fermented foods can lower inflammation. Inflammation is bad for your heart and joints. Eating these foods can help keep your body’s inflammation in check.
This can lead to better health overall. Adding fermented foods to your diet is good for your gut, immune system, and can even lower disease risk.

