How to Make a SCOBY at Home for Your First Kombucha
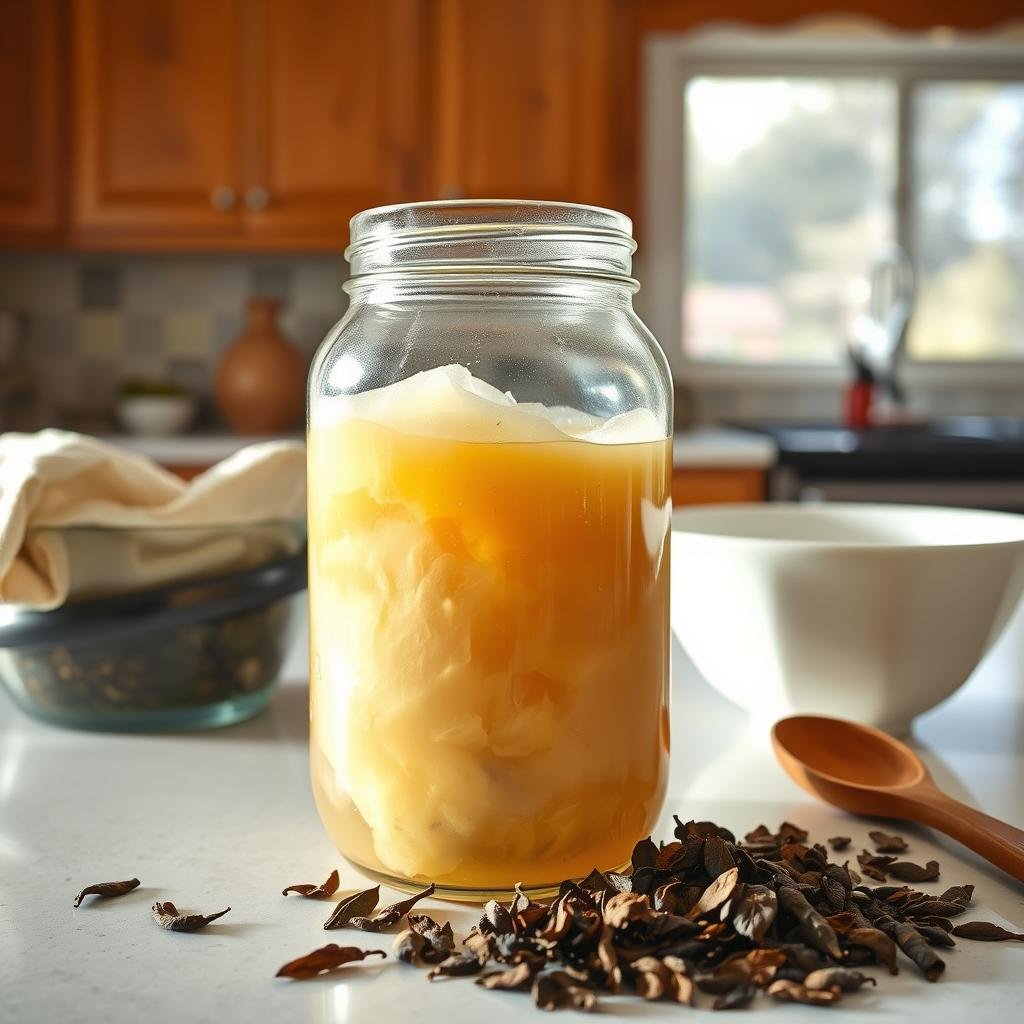
Ever wondered how to make a scoby at home for your own kombucha? A SCOBY, or Symbiotic Culture of Bacteria and Yeast, is key. It turns sweet tea into the tangy, probiotic-rich drink we love. This DIY scoby guide will show you how, from getting ingredients to keeping the right conditions.
To make a kombucha scoby at home, you need a few simple things. You’ll need cane sugar, black or green tea, and raw kombucha as a starter. With some care and patience, you can grow a healthy SCOBY in your kitchen.
For a full guide on growing your own scoby, check out this detailed tutorial. Whether you’re new or experienced, these steps will help you make your own scoby. Stay tuned and learn to brew your first batch of kombucha with ease!
What is a SCOBY and its Role in Kombucha?
A SCOBY, or Symbiotic Culture Of Bacteria and Yeast, is key in making kombucha. It turns sweet tea into a tangy, bubbly drink. Knowing about a kombucha scoby is important for making good kombucha at home.
Function of SCOBY in Fermentation
The scoby starter is the heart of fermentation. It has bacteria and yeast that break down tea sugars. This makes alcohol, carbon dioxide, and acids that are good for you.
The scoby keeps the mix of microbes in balance. Yeast turns sugar into alcohol. Then, bacteria change it into acids that add flavor and health benefits.
Ingredients Needed to Create a SCOBY
Making a homemade SCOBY is easy and fun. You need a few important ingredients. With the right mix, you can grow a healthy SCOBY at home.
Essential Ingredients List
To make a homemade scoby, you need these key ingredients:
- Water
- Black Tea
- Cane Sugar
- Kombucha Starter Tea
Water is the base of your mix. It must be clean and free from harmful stuff. Black tea gives the SCOBY the nutrients it needs. Cane sugar feeds the good bacteria and yeast. And, kombucha starter tea brings the microbes to start the SCOBY.
Optional Ingredients for Variations
While the basic ingredients are key, you can add extras for different tastes and effects.
- Green Tea
- Blend of Teas
- Alternative Sugars
You can use green tea or mix teas for unique flavors and health perks. Cane sugar is best for consistency, but trying other sugars like organic sugar can be fun. But, go back to cane sugar if other sugars don’t work well.
Choosing the Right Container for Your SCOBY
Finding the perfect scoby container is key for your DIY scoby’s growth. The right one keeps the environment right and gives the scoby room to grow.
Best Types of Containers
For growing scoby from scratch, glass jars are top picks. Glass doesn’t react with the kombucha’s acidity. This keeps your mixture safe from chemicals. Plus, glass jars are easy to clean, making them great for scoby growth.
Size Considerations for SCOBY Growth
Size matters a lot for your DIY scoby journey. A one-gallon jar is usually the best size. It gives the scoby enough space to grow without feeling cramped. Make sure the container has a wide mouth for easy scoby removal.
Step-by-Step Guide to Making a SCOBY
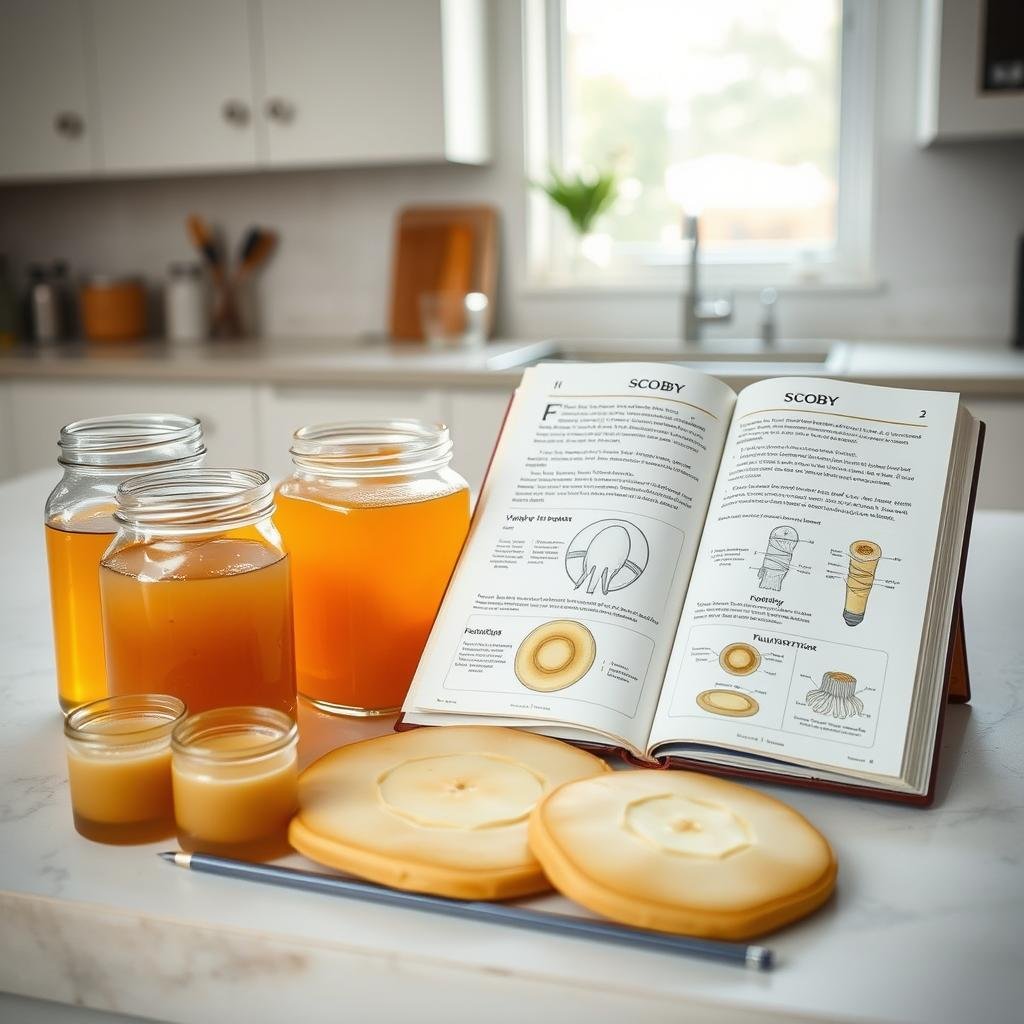
Making a homemade scoby is rewarding. It starts with sweetened tea, starter tea, and proper storage. This guide will help you through each step.
Preparing Sweetened Tea
To start, pour 2 cups of boiling water into a clean jar. Add 6 tablespoons of black tea and steep for 15 minutes. Remove the tea and add ⅝ cup of sugar. Stir until it’s dissolved.
This sweetened tea is the base for your SCOBY. Then, add 4 cups of filtered water to cool it. Make sure it’s lukewarm.
Adding Starter Tea
Once the tea cools, add 1 ½ cups of plain kombucha. This starter tea has the bacteria and yeast for SCOBY growth. For more info, see this step-by-step scoby guide.
Covering and Storing Your Mixture
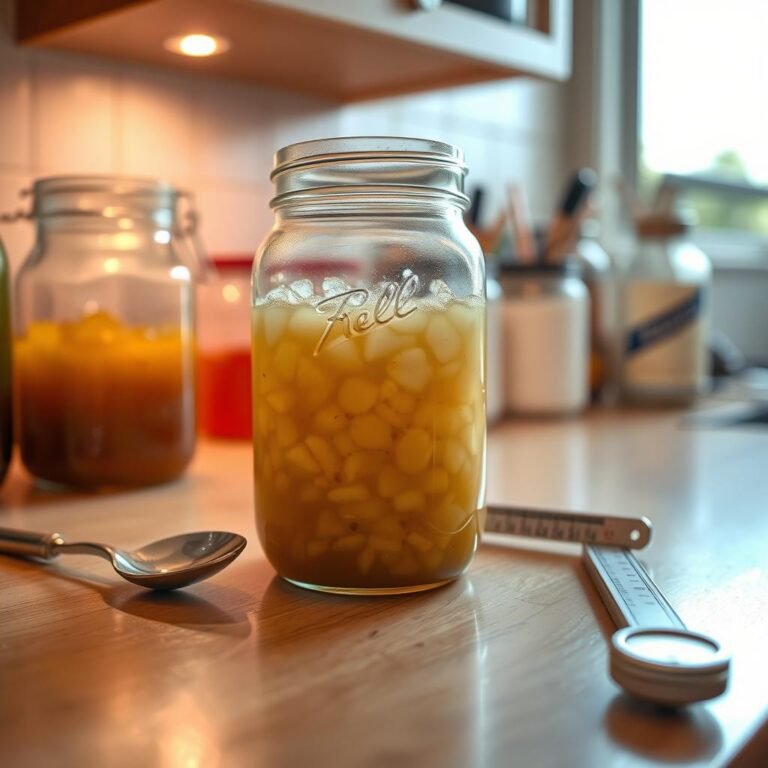
Cover the jar with a breathable cloth and a rubber band. This keeps out contaminants. Store it in a dark, warm place.
Let it sit for 2 to 3 weeks, tasting it now and then. A new SCOBY will form on the surface. In a month, your scoby will be ready.
Optimal Conditions for SCOBY Growth
Creating the right environment is key for a healthy SCOBY. Temperature, light, and air are important. They help the SCOBY grow well and ferment efficiently.
Ideal Temperature Range
The right temperature is between 70-85 degrees Fahrenheit. This helps the yeast and bacteria in the SCOBY work well. Keeping it steady prevents problems with growth.
Light and Air Requirements
Light and air are also vital. Direct sunlight can harm the brew. A shaded, well-ventilated spot is best. It keeps the brew healthy and prevents mold.
| Factor | Optimal Range |
|---|---|
| Temperature | 70-85°F |
| Light | Out of Direct Sunlight |
| Air | Well-Ventilated |
How Long Does It Take to Make a SCOBY?
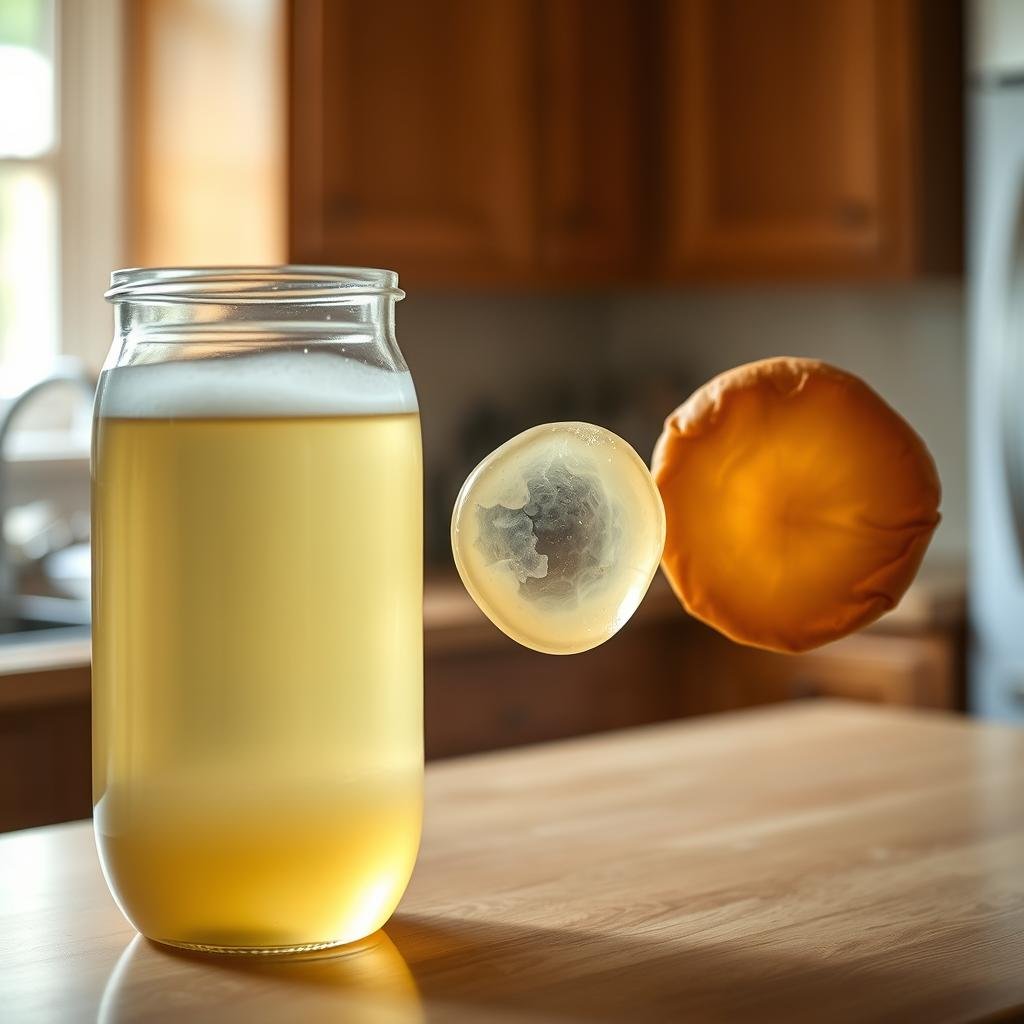
For anyone into kombucha, knowing how to grow a SCOBY is key. It usually takes 2 to 4 weeks to get a healthy SCOBY, depending on the environment.
Average Time for SCOBY Formation
To start growing a SCOBY, you need the right conditions. Keep the temperature between 75 and 85 degrees. It usually takes 10 days to 3 weeks for a SCOBY to form.
For more info, check out this link. If you notice a sour smell or mold, throw the mixture away right away.
Signs of a Healthy SCOBY Development
A healthy SCOBY looks thick and creamy white. It feels smooth and gelatinous. At first, you’ll see a thin film on the surface in a few days.
As time goes on, this film gets thicker. When it’s big, it means the microbes are active. If the SCOBY stays thin or doesn’t form in two weeks, start over to avoid contamination.
| Condition | Optimal Value |
|---|---|
| Temperature | 75-85°F |
| Average Formation Time | 10 days – 3 weeks |
| Healthy Appearance | Creamy white, gelatinous texture |
Watch for these signs and keep the environment right. Your SCOBY will grow strong and healthy. Ready to make tasty kombucha. For more tips, see this guide.
Troubleshooting Common SCOBY Issues
Even experienced brewers sometimes face SCOBY issues. Spotting an unhealthy SCOBY early can save your brew. This ensures a healthy SCOBY. We’ll cover common problems and solutions to keep your kombucha brewing smoothly.
Recognizing Unhealthy SCOBY Signs
- Mold Growth: Mold shows up as fuzzy spots, often black, green, or blue. This means you need to throw out the whole batch.
- Thin or Tearing SCOBYs: A thin or tearing SCOBY might mean it’s not getting enough nutrients or the temperature is off.
- Foul Odors: A vinegar smell is okay, but if it smells bad or rotten, it’s likely contaminated.
- Black or Discolored SCOBY: A black SCOBY means it’s contaminated and should be thrown away right away.
Solutions for Common Problems
Fixing troubleshooting SCOBY starts with cleanliness and the right conditions. Here are tips for common issues:
- Ensure Cleanliness: Keep your equipment clean to avoid contamination. Wash your hands well before touching the SCOBY.
- Right Fermentation Temperature: Keep the temperature between 68-78°F for a healthy SCOBY. Bad temperatures can ruin your batch.
- Proper Starter Tea: Use good starter tea to help the SCOBY grow well at the start.
- Handling Holes or Tears: SCOBYs with holes or tears can work fine. Make sure they’re at least 3 inches wide for good fermentation.
By following these tips, brewing kombucha should go smoothly. A healthy SCOBY will result. Keep an eye on things and act fast to avoid big problems.
Using Your Freshly Made SCOBY

Congratulations on making your own SCOBY! Now, you’re ready to start brewing your first kombucha. We’ll guide you through the first steps and share care tips for your SCOBY.
Starting Your First Kombucha Brew
Get ready to brew your first kombucha. You’ll need filtered water, sugar, tea, and your SCOBY. First, make sweetened tea for your kombucha base.
Once it cools, add your SCOBY and starter tea. Put it in a glass container, cover it, and let it ferment for 7-10 days.
SCOBY Care and Maintenance Tips
Keeping your SCOBY healthy is key for more brews. Feed it fresh sweet tea to keep it going. Keep it warm, between 68-78°F, to avoid sleep.
Check for mold or bad growth often. If you see it, separate the SCOBY layers. This helps it grow better and get more oxygen.
Storing Your SCOBY Long-Term
Keeping your SCOBY healthy is key for future brewing. A SCOBY hotel, a jar filled with sweet tea, is great for storing scoby long-term.
Ideal Storage Conditions
For the best SCOBY long-term storage, keep the jar at room temperature. This means between 65 and 85 degrees Fahrenheit. Make sure it’s in a dark place to avoid sunlight damage.
Use a tight-weave, breathable cloth to cover the jar. This lets air in while keeping dust and bugs out.
How to Preserve SCOBY for Future Use
To keep your SCOBY lively, check the liquid level often. If it’s low, add sweet tea or unflavored kombucha. This keeps it moist and active.
Don’t put the SCOBY in the fridge. Cold temperatures can make it dormant and less effective.
How to Harvest and Share SCOBYs
Starting to share your SCOBYs can be very rewarding. As you brew more kombucha, your SCOBY grows. You can then harvest and share it with others.
Knowing when and how to harvest and share your SCOBY is key. It keeps your SCOBY healthy and your brewing successful.
When to Harvest
Your SCOBY is ready when it’s thick and robust. This usually happens after several batches. Aim for a layer that’s ¼ to ½ inch thick.
If your SCOBY has reached this size, it’s time to harvest. Use clean hands to separate the top layer from the rest.
Sharing SCOBY with Friends and Family
After harvesting, you can share your SCOBY with others. Put it in a clean jar with starter tea to keep it moist. Tell your friends to start a new brew to keep the SCOBY alive.
Sharing SCOBYs builds a community of kombucha lovers. It also helps spread the word about making homemade kombucha.
By knowing when to harvest SCOBY and how to share SCOBY, you help grow a community. This community shares experiences and learns more about kombucha.

