How to Prepare Kombucha at Home: Basics for Beginners
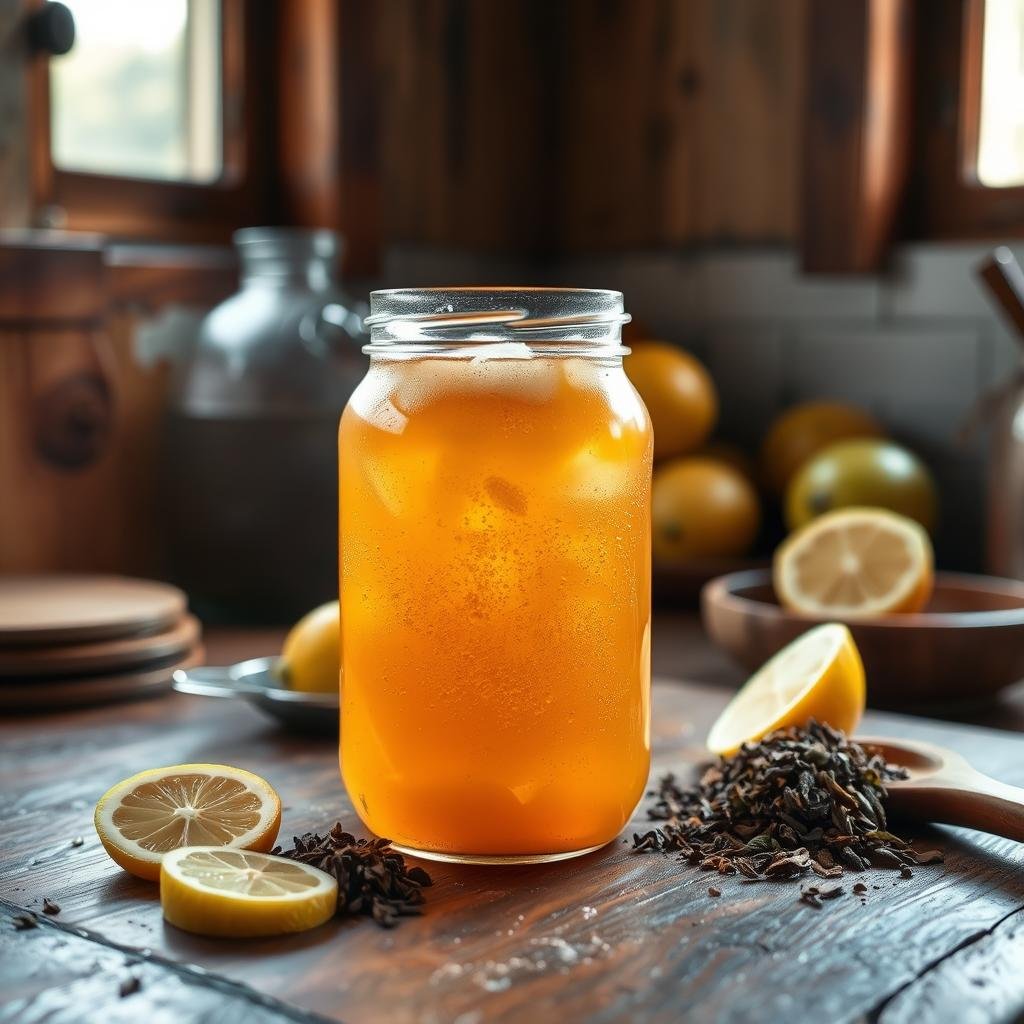
Kombucha is a fermented tea that tastes refreshing and might be good for your health. It has been around for over two thousand years. Its unique taste and health benefits have made it very popular.
To make kombucha, you need to go through two fermentation stages. These stages turn sweet tea into a fizzy, tangy drink. This guide will help beginners make kombucha at home. It covers everything from the start to the fermentation process.
If you want to learn how to prepare kombucha at home, keep reading. You’ll find a detailed homemade kombucha recipe and important brewing tips.
What is Kombucha?
Kombucha is a special drink made from sweetened tea and a mix of bacteria and yeast. It’s called SCOBY. This drink has been around for centuries and is loved for its taste and health perks.
Understanding the Fermentation Process
The SCOBY starts working on the sweet tea. It breaks down the sugar, making acids, vitamins, and enzymes. This makes kombucha tangy and fizzy. It also adds to its health benefits.
Health Benefits of Kombucha
Many people drink kombucha for its health benefits. It can help with digestion, boost energy, and support the immune system. Even though more research is needed, many people swear by its benefits. This makes making kombucha at home very appealing.
Essential Ingredients for Home Brewing
Starting a successful kombucha batch needs the right ingredients. Each part is key for the fermentation process. This ensures the perfect mix of flavor and health benefits. Let’s look at the must-haves for a simple kombucha recipe.
Tea Types: Black, Green, and Herbal
Choosing the right tea is key for brewing kombucha. Black and green teas are best because they’re full of nutrients and have strong flavors. These are vital for the SCOBY. Herbal teas can add variety, but they might change the fermentation because they don’t have true tea leaves.
Sugar Selection: Why It Matters
Sugar is a critical part of any easy kombucha recipe. It feeds the SCOBY, helping the fermentation. Organic cane sugar is best because it’s pure and consistent. Other sugars like honey or maple syrup can change the taste and how long it ferments.
Starter Culture: SCOBY Explained
The SCOBY, or Symbiotic Culture of Bacteria and Yeast, is the heart of kombucha. It turns sweet tea into kombucha. Having a healthy SCOBY is essential for a good batch, even with an easy recipe.
Equipment Needed for Brewing Kombucha
Getting the right gear is key for making great kombucha. The right tools make brewing safe and easy. Let’s look at the must-haves for brewing kombucha.
Glass Jars and Containers
A glass jar is a must for brewing kombucha. Glass doesn’t change the taste of your kombucha. It keeps your brew clean and free from bad stuff.
Unlike plastic, glass doesn’t hold bacteria or chemicals. For the best results, use food-grade ceramic or porcelain too. But, avoid crystal and metal as they can harm your brew. For more tips, check out this resource.
Brewing Kits vs. DIY
Do you want a brewing kit or make your own setup? Kits are great for beginners because they’re easy to use. They usually come with everything you need, like a jar and SCOBY.
On the other hand, making your own setup lets you pick each part. This way, you can customize your brewing. It’s a good choice if you like to try new things.
Essential Tools for Fermentation
There are some small but important tools for brewing. Here are the ones you need:
- Cotton cloths or coffee filters to keep out bad stuff while letting air in.
- A food thermometer to check the temperature. This is important for fermentation.
- Rubber bands to hold the cloths or filters in place.
- Mesh tea balls or reusable tea bags for easy tea steeping.
- Bottles with tight seals for the second fermentation. This makes your brew fizzy.
Using these tools helps keep your kombucha environment perfect. This way, you’ll always get a great brew.
The Brewing Process Step-by-Step
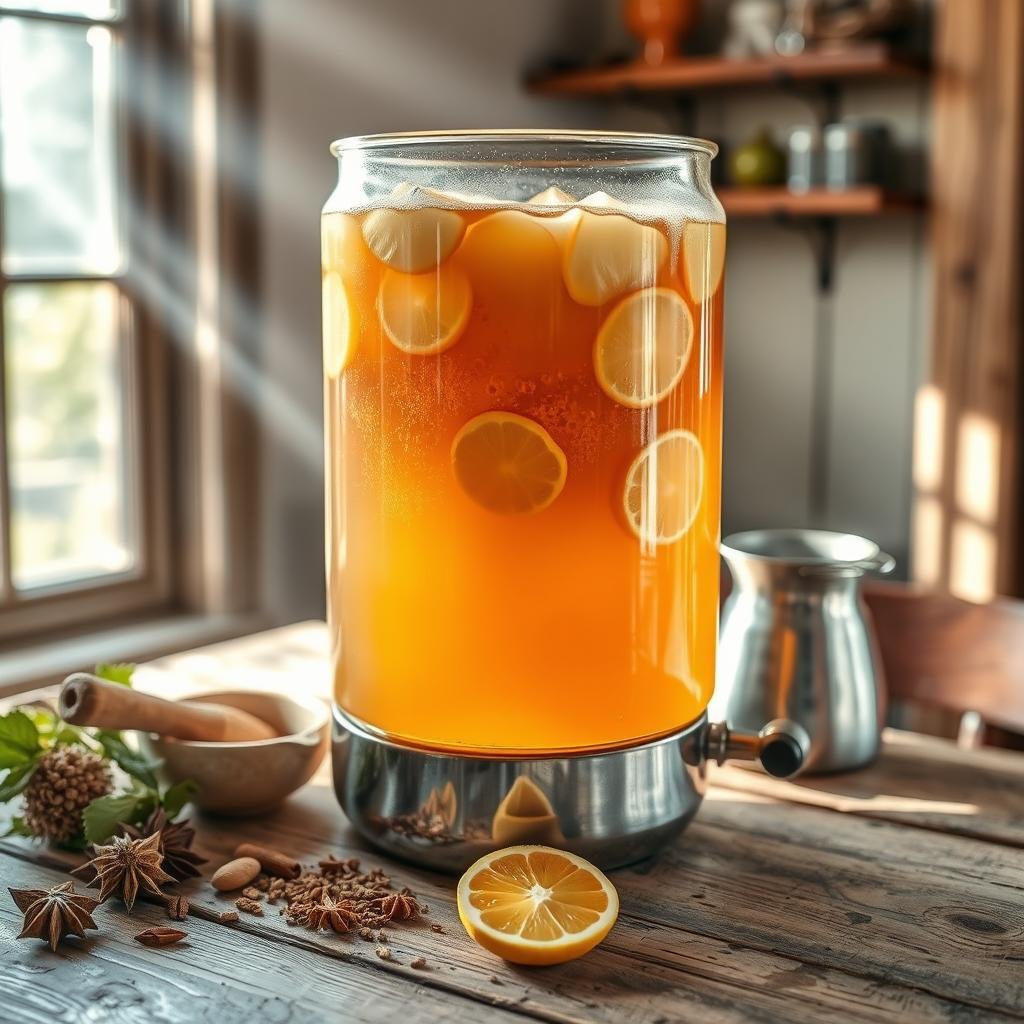
Brewing kombucha at home is rewarding if you follow the steps carefully. Make sure to follow important kombucha brewing tips to get better results.
Preparing the Tea Base
First, prepare the tea base. Boil water and steep tea leaves for flavor. Use 5 grams of tea leaves per liter of water.
Wait until the tea turns a rich color. Then, move on to the next step.
Adding Sugar and Cooling the Mixture
After steeping, add sugar to the hot tea. Make sure the sugar dissolves completely. It’s a key nutrient for fermentation.
Once the sugar is dissolved, cool the tea to room temperature. This step is important to protect the SCOBY’s delicate cultures.
Introducing the SCOBY
Now, add the SCOBY to the cooled tea. The SCOBY is key for fermentation. Place it gently into the tea mixture.
Then, cover the jar with a coffee filter or cloth. Use a rubber band to keep it tight. This keeps out contaminants and fruit flies.
Keep the temperature right (70–80°F) and the right amounts. Watch the pH levels for a healthy fermentation. For more tips, check out these comprehensive kombucha brewing tips.
Fermentation Period: What to Expect
The fermentation period is key for making kombucha taste unique. Let’s explore what happens during this part of your homemade kombucha recipe.
Ideal Temperature and Environment
Kombucha needs a temperature between 70-85 degrees Fahrenheit. It also needs good air and to be away from sunlight. Keeping the temperature steady helps the SCOBY grow well and ferment properly.
Changes in temperature can mess up the fermentation.
- The SCOBY might sink or float when first put into the brewing vessel, both are normal occurrences.
- By day 3, you might see opaque white specks, showing the SCOBY is forming.
- By days 4-5, a thin SCOBY layer will form on top, matching the vessel’s shape.
- Brown stringy yeasty bits may appear, adding to the fizziness.
- The liquid will get lighter as it ferments, showing it’s working.
How Long to Ferment for Best Results
The first fermentation takes 7 to 12 days. You can adjust this based on how you like it. Cooler temperatures, like in winter, might make it take longer.
During this time, sugars turn into acids and carbonation forms. This makes kombucha taste special, as explained on this website.
An acidic or vinegary smell means it’s fermenting well. Cloudiness at the bottom is normal, caused by yeast settling. This is important for kombucha’s unique flavor.
Identifying Successful Fermentation
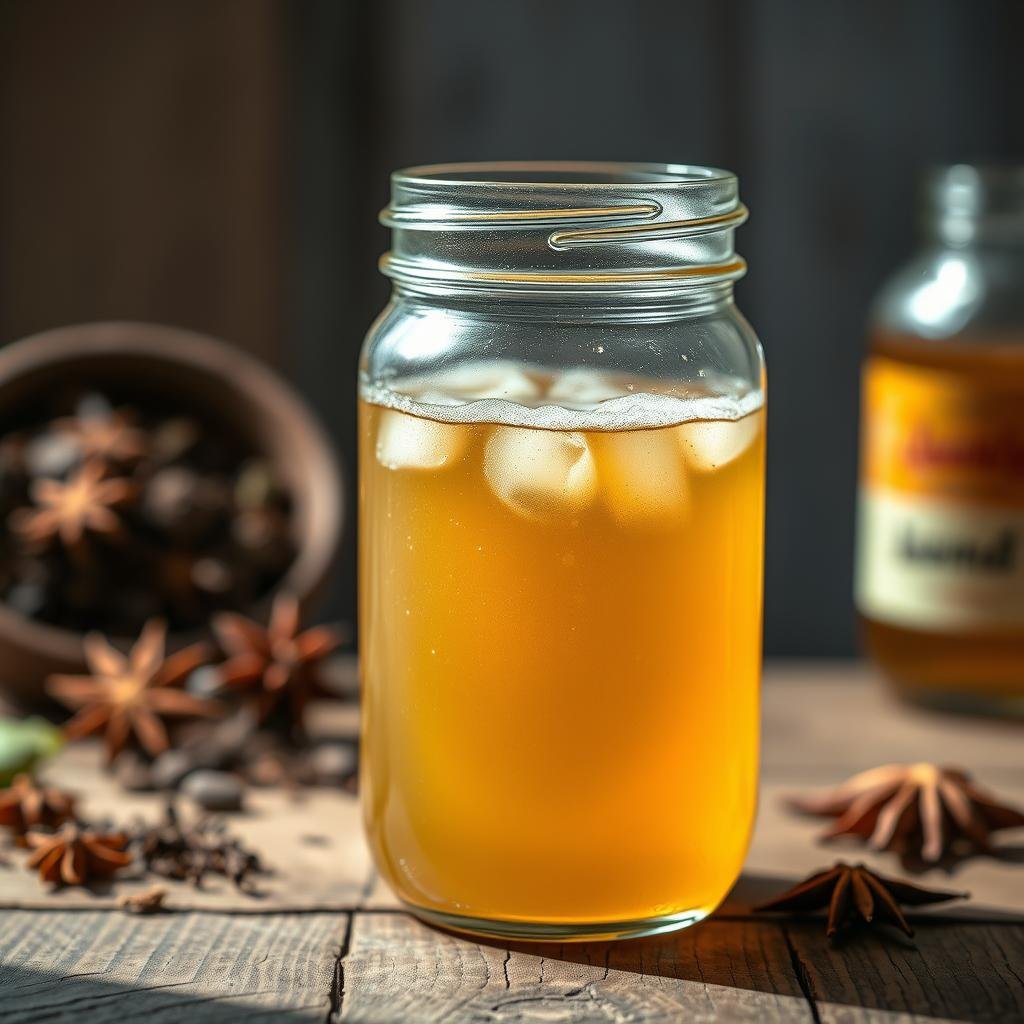
Knowing when your kombucha is done is key to getting the right taste and safety. To brew kombucha at home, look for signs that show it’s ready for the next step.
Signs Your Kombucha is Ready
A new SCOBY layer on top is a big sign of success. It starts clear but gets thicker and darker. Also, a smell like vinegar means it’s fermented right.
These signs are important for checking your brew. They help you know if it’s doing well.
Taste Testing: Achieving the Perfect Flavor
Tasting your kombucha is an art. Start tasting it around day 7. It should be tangy, bubbly, and just right.
If it’s too sweet, it needs more time. If it’s too sour, it’s fermented too long. Finding the perfect taste takes time and adjusting the fermentation.
Flavoring Your Kombucha
Creating an easy kombucha recipe at home is fun. You can add fruits, herbs, and spices to change the taste. This step makes the drink taste better and adds fizz.
Adding Fruits and Herbs
Adding fruits and herbs is exciting. Start with fresh fruit purees or juices for a great taste. Use about 1/4 to 1/3 cup of puree for every 16 oz. bottle.
Herbs like ginger or mint add a refreshing touch. But, remember, herbs get stronger over time. So, use them a little.
Popular Flavor Combinations
Some favorite flavors are ginger and lemon, berry mixes, and tropical fruits with spices. These make your easy kombucha recipe taste amazing. Fruit jams and preserves are also great, using one to two tablespoons per 16 oz. bottle.
When to Add Flavorings During Brewing
When to add flavorings is key. Add them during the second fermentation for best taste and fizz. For more fizz, add at least a teaspoon of sugar per bottle.
This sugar helps the yeast make more fizz. For more tips, check out this you brew kombucha.
The sugar in your flavorings affects fizz. Sweeter flavors make more fizz. You can adjust sweetness by adding more or less flavoring or sugar. This way, your kombucha will taste great and look good too.
Bottling and Second Fermentation
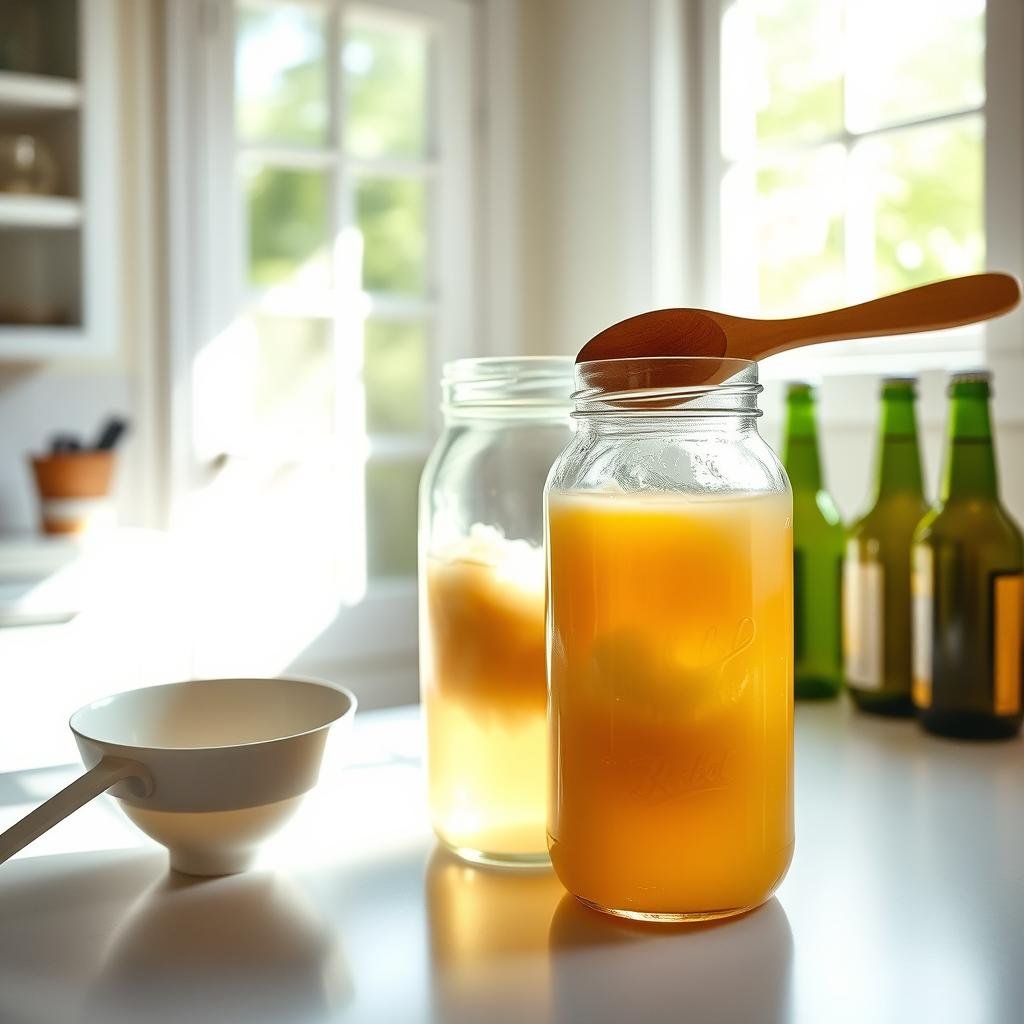
Bottling is a key step for storing kombucha and making it fizzy. When you make kombucha from scratch, picking the right bottles is important. This helps avoid accidents and keeps your brew top-notch.
Choosing the Right Bottles
Choosing the right bottles is key. Use flip-top glass bottles because they handle pressure well. This keeps your kombucha safe from explosions.
Carbonation Tips for Maximum Fizz
To get the perfect fizz, follow a few tips. Make sure the bottles are tightly sealed. This traps the gases that make your kombucha fizzy.
Store the bottles at room temperature for a few days. This helps the carbonation grow before you put them in the fridge.
Storing Your Bottled Kombucha
Storing your kombucha right is important. It keeps it fresh and tasting good. Store it in a cool, dark place. This is key to making great kombucha from scratch.
Troubleshooting Common Issues
Making kombucha at home can be tricky, even for beginners. Issues like mold, bad flavors, or flat drinks can ruin the fun. These problems can make brewing your own kombucha a challenge.
SCOBY Problems: Mold and Damage
A healthy SCOBY is key for good kombucha. Keeping it in the fridge can harm it and invite contamination. Too much sunlight or a damaged SCOBY can also cause problems.
If you see mold, like fuzzy spots, throw away the SCOBY. Start fresh. For tips on keeping your SCOBY healthy, check out Nourished Kitchen’s guide on kombucha.
Flavor Imbalances: Too Sweet or Sour
Finding the right balance of sweet and sour is hard. Too long tea steeping can make your kombucha bitter. Using young tea can weaken flavors over time.
Adding flavorings too soon can mess up the taste. Adjust the fermentation time and taste it often to get it right. This will help you make a great homemade kombucha.
Carbonation Issues: Flat Kombucha
Flat kombucha can happen for a few reasons. It might be from bad sealing or uneven yeast distribution. Make sure your bottles are sealed well and mix the batch before bottling.
Using sweeteners helps the fermentation process. This is important for good carbonation, as many recipes suggest. By avoiding these common mistakes, you can make delicious kombucha every time. For more tips, visit Nourished Kitchen’s brewing guide.
Kombucha Safety and Hygiene Tips
Learning to make kombucha at home means keeping it safe and clean. This is key to avoid mold and bacteria. These can ruin your brew and harm your health.
Maintaining Cleanliness During Brewing
First, clean all your brewing stuff well before you start. This includes jars, utensils, and surfaces that touch the kombucha. Also, wash your hands before touching the SCOBY or ingredients.
Hot water and vinegar mix is great for cleaning. It’s a natural way to sanitize your equipment.
Storage Guidelines to Prevent Contamination
Storing your kombucha right is important. Use clean, airtight containers to keep it fresh. Glass bottles with tight lids are best for storing and secondary fermentation.
Keep your kombucha in a cool, dark spot. Avoid direct sunlight. It can mess up the fermentation and quality of your drink.
