How to Make Fermented Milk at Home for Beginners
If you’re new to fermentation, making fermented milk at home is a great start. It brings health benefits and tasty options. This easy fermented milk recipe is perfect for beginners. It lets anyone make probiotic-rich dairy at home.
Try DIY fermented milk and discover its nutritional perks. Making it yourself is simple and rewarding.
Introduction to Fermented Milk
Fermented milk is made when good bacteria and yeast work on milk. They eat the sugar in the milk and turn it into lactic acid. This makes the milk last longer and adds good stuff called probiotics. You can make kefir, yogurt, and cheese at home.
What is Fermented Milk?
Fermented milk comes from milk proteins and special bacteria and yeasts. This mix creates different textures, tastes, and health benefits. It’s loved worldwide for its good effects on digestion and immune system.
History of Fermented Milk
Fermented milk has been around for about 7,500 years. People first started using animal milk when they domesticated animals. Without fridges, milk would ferment naturally, leading to foods like kefir.
Old ways of storing milk, like in clay pots, helped make these fermented foods. These methods helped us make many fermented dairy products at home. They’ve been a big part of our diet for a long time.
Health Benefits of Homemade Fermented Milk
Homemade fermented milk is great for your health. It’s full of good stuff that helps your body. Making yogurt at home boosts the probiotics, which is good for your gut and overall health.
Probiotic Advantages
Homemade yogurt has more probiotics. These good bacteria help your gut and immune system. Drinking probiotic milk can also help with digestion problems like bloating.
Nutritional Value
Fermented milk is rich in vitamins and minerals. The fermentation process makes these nutrients easier for your body to use. It also cuts down on sugar, making it a healthier choice than regular milk.
Improved Digestibility
People with lactose intolerance can benefit from probiotic milk. The fermentation breaks down lactose, the milk sugar. This makes it easier to digest, so you can enjoy fermented milk without discomfort.
Adding homemade fermented milk to your diet can improve your digestion and nutrient absorption. It’s a great way to boost your health, whether you make yogurt or other probiotic milk.
Essential Equipment for DIY Fermented Milk
Making fermented milk at home is fun and rewarding. But, having the right tools is key. We’ll talk about the must-have homemade fermented milk equipment for a smooth DIY journey.
Mason Jars
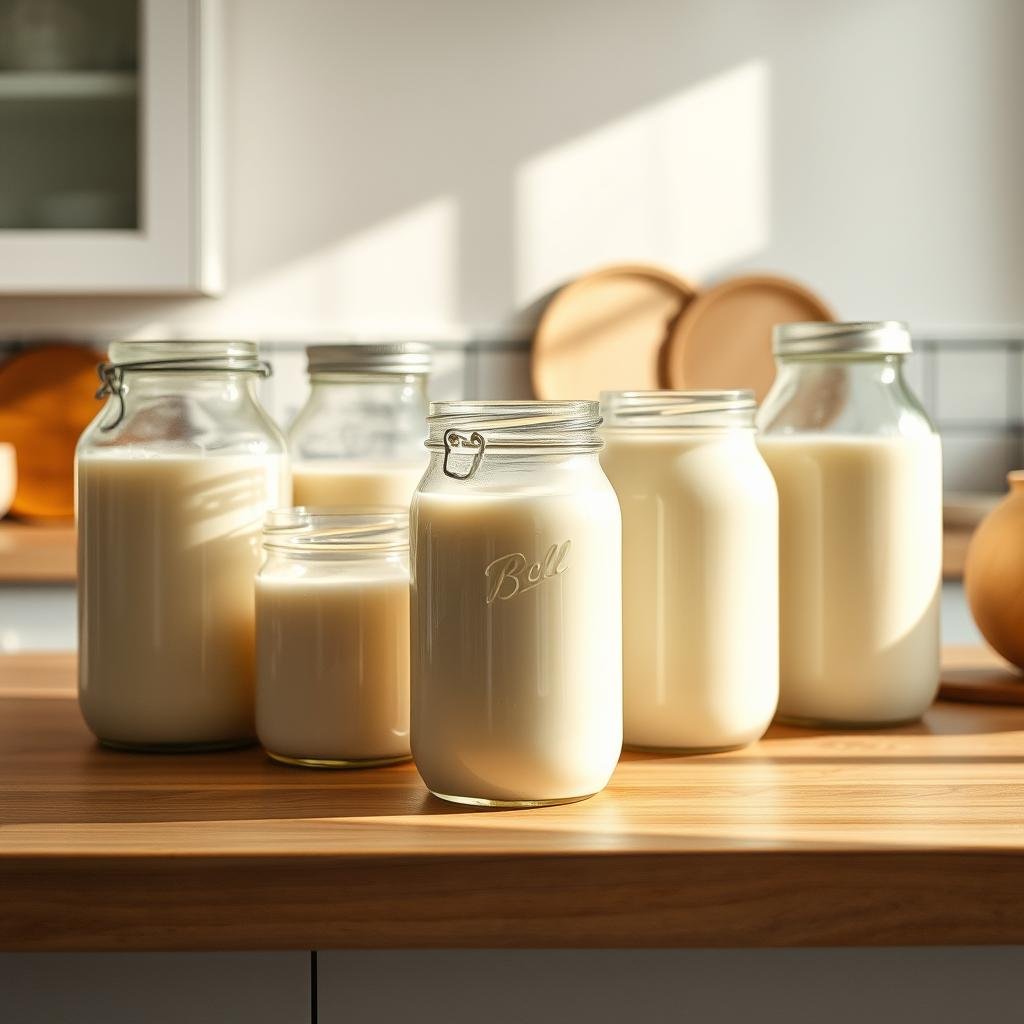
Mason jars are perfect for fermenting milk. They’re non-reactive and don’t scratch easily. Plus, they’re free from harmful chemicals like BPA. Glass containers keep your milk pure and flavorful.
Choose a size based on how much milk you drink and your kefir grains’ health.
Breathable Cloth Covers
A breathable cloth cover is vital for letting air in while keeping out contaminants. Use tight-weave cloth, paper towels, or coffee filters. Secure it with a rubber band.
Rubber Bands
Rubber bands keep your cloth covers tight. They’re simple and effective. They help keep your DIY tools working well by keeping things clean and controlled.
Mesh Strainers
After fermentation, you need to separate the kefir grains from the milk. Use a plastic fine mesh strainer. It’s gentle on the grains and easy to clean. Don’t use metal mesh strainers because they can react with the milk’s acidity.
For more on choosing the best equipment, check out this resource on choosing equipment for making dairy milk.
Choosing the Right Milk for Fermentation
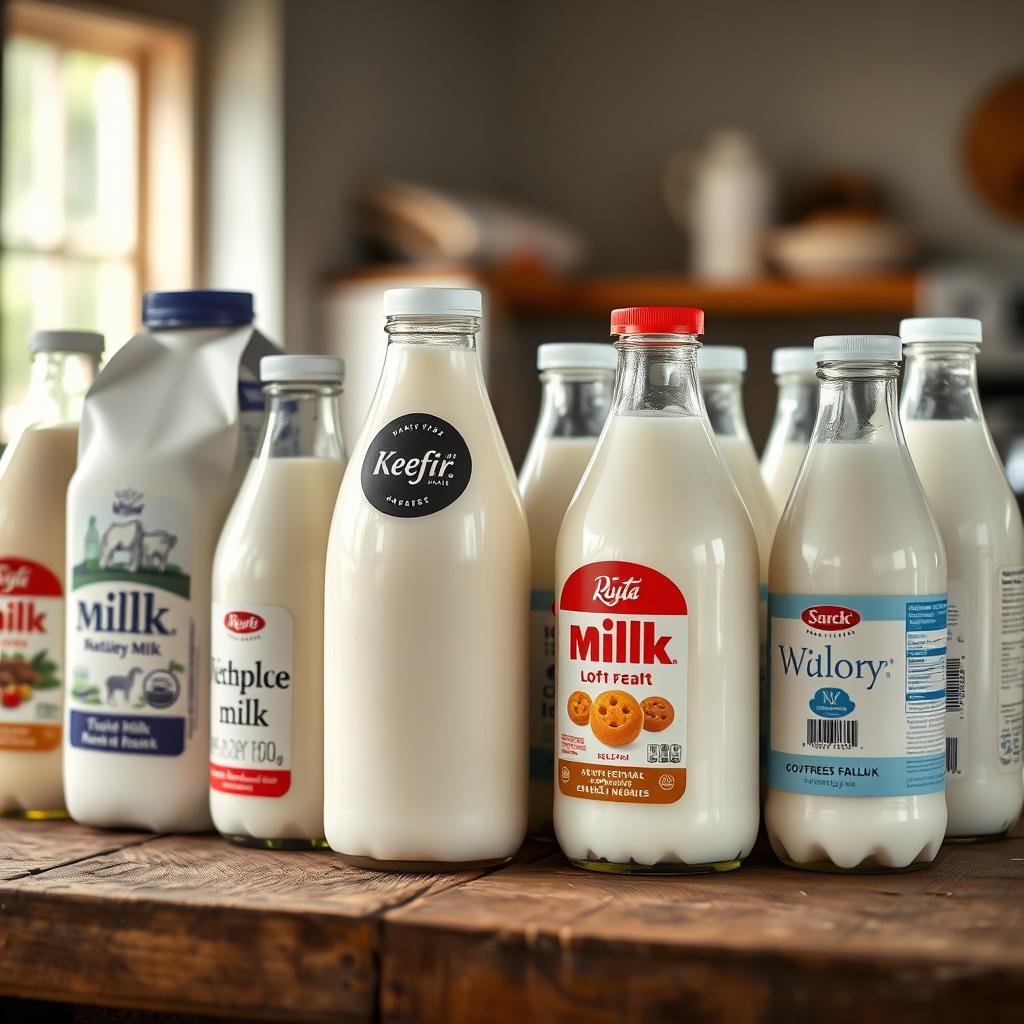
When choosing milk for yogurt fermentation or making other fermented milk products, the type of milk you select plays a big role. This guide will help you understand the different milk options. You’ll learn about raw and pasteurized milk, and compare cow, goat, sheep, and non-dairy milk choices.
Raw vs. Pasteurized Milk
Raw milk is loved for its natural enzymes and beneficial bacteria. But, it’s important to use it after rehydrating milk kefir grains in pasteurized milk. This avoids any problems. Pasteurized milk is more commonly used and recommended for rehydrating grains. But, ultra-pasteurized milk is not good for culturing because of its high heat treatment.
Cow, Goat, and Sheep Milk Options
The best milk for homemade kefir depends on what you like and your dietary needs. Cow milk is the most popular, making a thick, smooth kefir. Goat milk is tangier but makes a lighter, easier-to-digest kefir. Sheep milk is sweeter and has more protein, making a richer, creamier kefir. Each milk type adds its own special touch to the fermentation process.
Non-Dairy Alternatives
If you prefer non-dairy options, you can use almond, soy, and coconut milk. But, the results might be different, like with seed and nut milks. Coconut milk can be cultured but might need a break in animal milk to keep the grains healthy. Make sure non-dairy milks don’t have additives that stop fermentation.
- Cow Milk: Most popular, yields thick, smooth kefir
- Goat Milk: Tangier taste, lighter consistency, easy to digest
- Sheep Milk: Sweeter, higher protein, thicker kefir
- Non-Dairy Milk: Variable results, requires careful selection
How to Make Fermented Milk at Home
Making fermented milk at home is easy. It only takes a few steps. This guide is for both newbies and experts in making probiotic milk.
First, make sure you have the right stuff. You need good milk and a starter culture. This could be kefir grains or a yogurt starter.
Warm your milk to 110°F (43°C). This helps the cultures work. Then, mix the starter culture into the milk well.
Put the milk in a mason jar. Cover it with a cloth and a rubber band. Let it sit at room temperature, away from sunlight. It will take 24 to 48 hours to ferment.
After it’s fermented, taste and check the milk. If it’s good, strain it. Now, your homemade probiotic milk is ready to eat or store in the fridge.
Here’s a quick guide to help you:
| Step | Description |
|---|---|
| 1. Prepare Milk | Warm milk to 110°F and add starter culture. |
| 2. Ferment | Pour into a mason jar, cover, and leave at room temperature for 24-48 hours. |
| 3. Strain | Check consistency and taste, then strain to remove cultures. |
| 4. Store | Refrigerate if not consuming immediately. |
By following these steps, you can make probiotic milk at home. It’s tasty and good for you. Plus, you’ll learn more about fermentation.
Step-by-Step Guide to Making Milk Kefir
Making kefir at home is easy and fun. You just need a few things and some patience. This guide will show you how to make kefir, from start to finish.
Ingredients Needed
First, get your ingredients ready. You’ll need:
- Kefir grains
- 2 cups of milk (cow, goat, or sheep, depending on preference)
- A glass jar
- Breathable cloth cover
- A rubber band
Fermentation Process
The fermentation process is simple:
- Put kefir grains in the glass jar.
- Add milk to the jar, filling it to ¾ full.
- Cover the jar with a breathable cloth and a rubber band.
- Let it sit at room temperature for 24-48 hours, depending on taste.
- Strain the kefir to separate the grains from the liquid.
Storing and Using Kefir Grains
Storing kefir grains right is key. After straining, rinse them gently with non-chlorinated water. Put them in fresh milk if you’re making more kefir.
If you’re storing them, put the grains in a small container. Cover them with milk and refrigerate. Change the milk every week to keep the grains healthy.
By following these steps, making kefir at home is easy and fun. You’ll enjoy the homemade kefir benefits.
Pro Tips for Perfect Fermentation
To make great homemade kefir, you need to control the temperature and know when to start fermenting. These tips will help you make delicious and tangy kefir every time.
Maintaining the Correct Temperature
Temperature is key for kefir fermentation. Keep it warm and stable. The best temperature is between 68°F and 78°F.
If it’s too cold, use a seedling mat or an insulated cooler. Changing temperatures can mess up your kefir’s taste and texture.
Adjusting Fermentation Time
The time you ferment your kefir affects its thickness and tanginess. Start with 24 hours for the best flavor. Taste it often to get the tanginess just right.
If you want thicker kefir, ferment it for 36 or 48 hours. For a milder taste, ferment it a bit less. These tips let you make kefir just how you like it.
Common Mistakes and How to Avoid Them
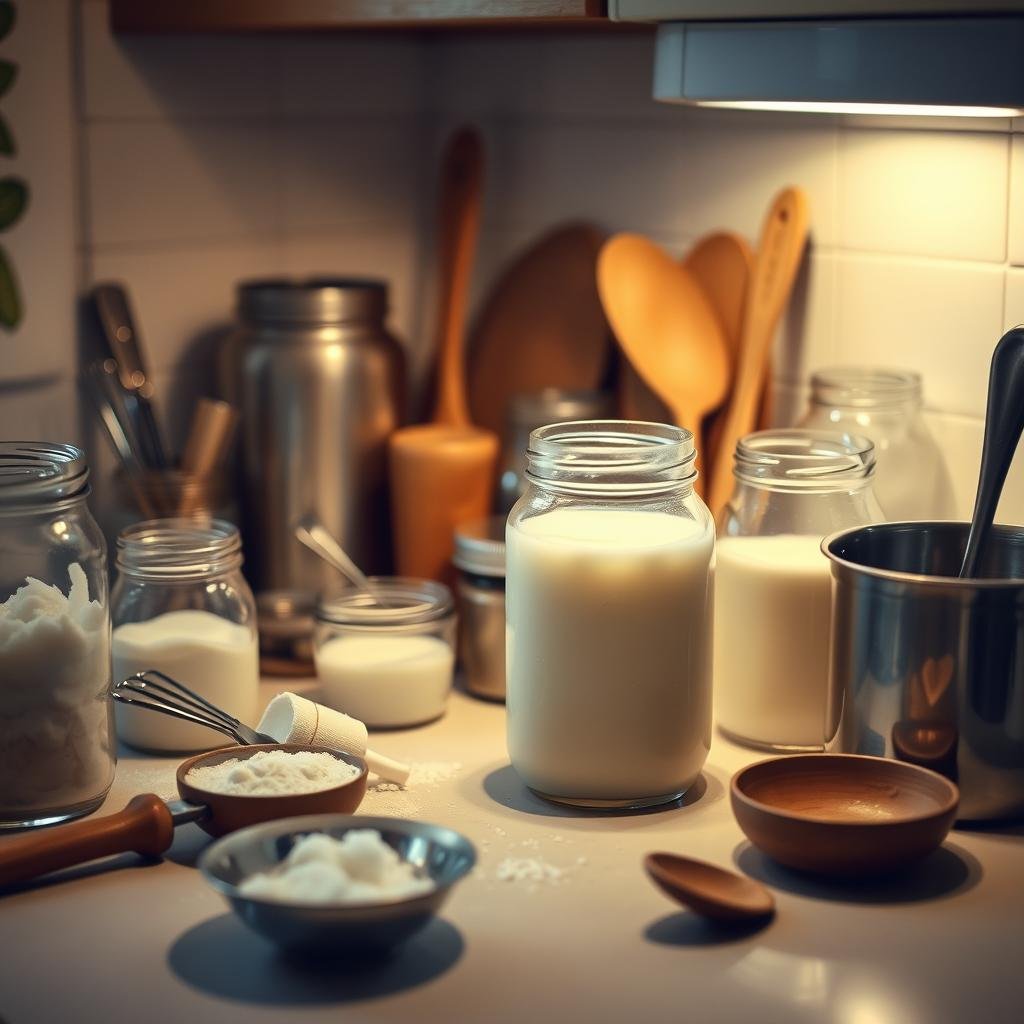
Making homemade kefir can be fun, but beginners often face some common problems. It’s important to know how to fix these issues to get the best results. Here are some common mistakes and how to avoid them.
Over-Fermentation
One big mistake is over-fermentation. This makes the kefir too sour and separates the curds and whey. To avoid this, follow the temperature and time on your starter culture packet. Using a water bath incubator helps keep the right temperature and prevents over-fermentation.
Using Incorrect Milk Types
Choosing the wrong milk can cause problems. It’s key to know the differences between raw and pasteurized milk. Also, cow, goat, and sheep milk react differently during fermentation. Make sure to pick the right milk type as your starter culture says. For more help, check out this resource for tips on milk selection and handling.
Improper Storage of Kefir Grains
Storing kefir grains wrong is another common mistake. They should be kept in a clean, airtight container in the fridge if not used right away. Not doing this can weaken the grains and mess up the fermentation. Use a digital pH meter or pH test strips to check the milk’s pH. It should be 4.6 or less within 48 hours.
To keep your kefir grains healthy, rinse them with non-chlorinated water. Also, avoid using metal utensils. By following these tips, you can avoid many common mistakes and make delicious, healthy kefir.
Recipes Using Fermented Milk
Fermented milk recipes are fun and varied. You can make smoothies or cheese. They’re great for adding homemade fermentation to your meals. Here are some tasty recipes to try, including DIY kefir cheese.
Berry Kefir Smoothie
Berries make kefir smoothies taste better and are healthier. Mix 1 cup of kefir, 1 cup of berries, 1 tablespoon of honey, and ice. It’s a refreshing start to the day or a healthy snack.
Kefir Ranch Dressing
Make your salads zesty with kefir ranch dressing. Mix 1 cup of kefir, 1/2 cup of mayonnaise, 2 tablespoons of dill, 1 clove of garlic, salt, and pepper. It’s a tasty way to add fermented milk to your meals.
Kefir Cheese
Making kefir cheese is rewarding and tasty. Pour 2 cups of kefir into a cheesecloth-lined strainer and wait 24-48 hours. You get a creamy cheese that you can flavor. Learn more at Nourished Kitchen.
Try these recipes to enjoy homemade kefir in new ways. You can make drinks, dressings, or cheeses. Keep trying and enjoy the health perks of fermented milk.
| Recipe | Main Ingredients | Preparation Time |
|---|---|---|
| Berry Kefir Smoothie | Kefir, Mixed Berries, Honey | 10 minutes |
| Kefir Ranch Dressing | Kefir, Mayonnaise, Dill, Garlic | 15 minutes |
| DIY Kefir Cheese | Kefir, Cheesecloth | 24-48 hours |
Storing and Maintaining Your Fermented Milk
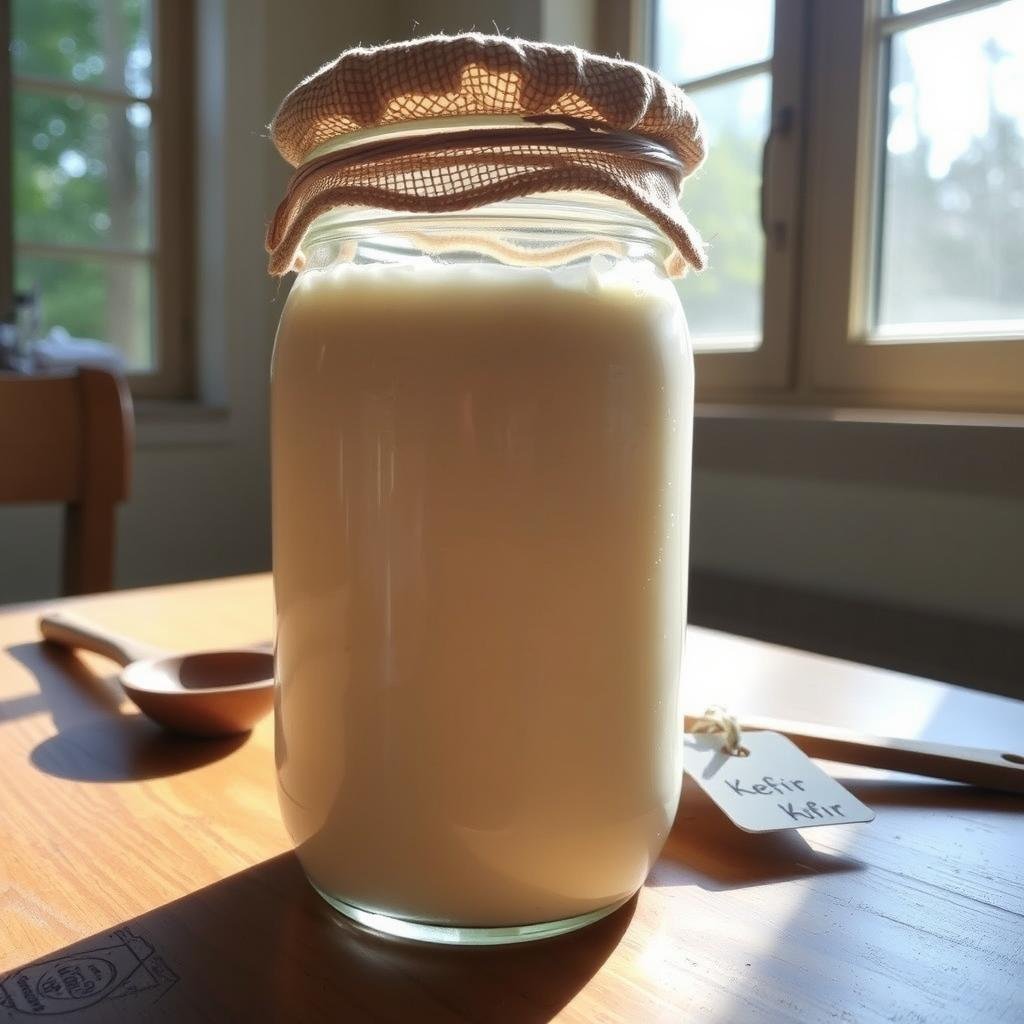
Keeping homemade fermented milk fresh is key. It helps keep its probiotic benefits. Follow some simple tips to keep your milk safe and tasty for longer.
Refrigeration Tips
Refrigeration is your best friend for storing kefir. Use airtight containers to stop contamination. Make sure your fridge is at 36°F to 40°F. This cold keeps kefir fresh longer.
Extending Shelf Life
Here are ways to keep your milk fresh:
- Avoid big temperature changes to slow down spoilage.
- Use smaller containers to cut down on air exposure.
- Try adding a pinch of salt to help it last longer.
| Storage Method | Recommendation |
|---|---|
| Refrigerator | Store at 36°F to 40°F in airtight containers |
| Small Containers | Reduce exposure to air by using smaller containers |
| Minimal Temperature Fluctuations | Maintain a consistent temperature to avoid spoilage |
| Adding Salt | Add a pinch of salt to extend kefir shelf life |
Why Homemade Fermented Milk is Better than Store-Bought
Homemade kefir and other fermented milks have many benefits. They offer a wide range of probiotic strains. This is different from store-bought, which often has only a few strains.
These probiotics can be chosen to fit your health needs. This makes homemade fermented milk more beneficial for your gut health.
Another big plus is that homemade milk doesn’t have preservatives or artificial additives. Commercial products use these to last longer. But they can harm the health benefits you want.
By making your own milk, you get a pure and natural drink. This is better for your digestive health.
Creating your own fermented milk is very rewarding. It gives you better quality and taste. Plus, it lets you control what you eat.
The DIY approach is about making something good for you. It’s about the joy of making something wholesome yourself. Homemade fermented milk is better because it’s tailored to you, pure, and fulfilling.

