Step-by-Step Tutorial on How to Make Kefir at Home
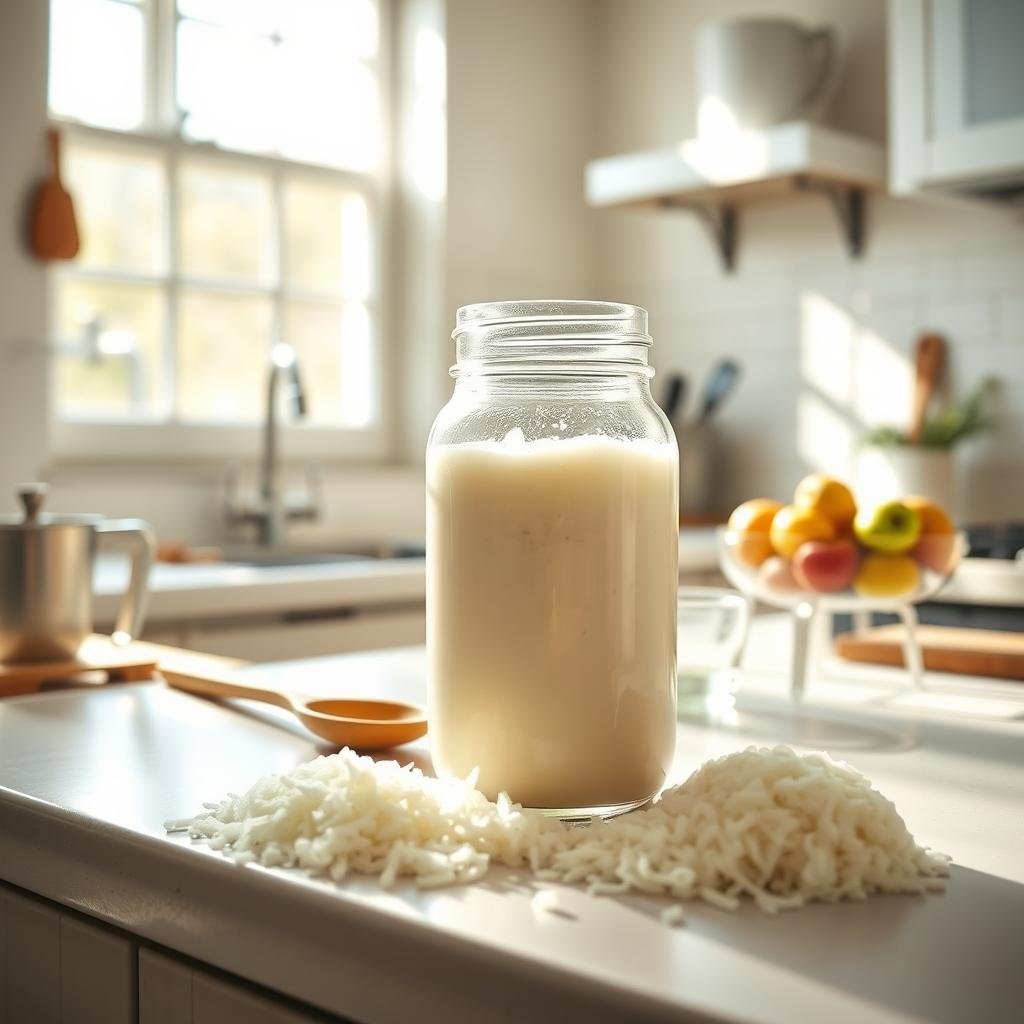
Welcome to our homemade kefir guide. Ever wondered how to make kefir? You’re in the right spot. This guide will show you how to make this probiotic drink at home.
First, let’s learn the basics. Kefir is a fermented milk drink. It’s made with kefir grains, which have lactic acid bacteria and yeast. Making kefir at home is simple. It turns milk into a tangy, healthy drink good for your gut.
Our guide makes it easy for beginners to make kefir. We’ll cover what you need, the best milk, and how to ferment it. By the end, you’ll know how to make tasty, healthy kefir at home.
Introduction to Kefir and Its Benefits
Kefir has become popular in health-focused homes. It’s tasty and full of health perks. We’ll explore what kefir is and its many benefits for your diet.
What is Kefir?
Kefir comes from the Caucasus Mountains. It’s like yogurt but has more kinds of good bacteria and yeast. To make kefir, milk is fermented with kefir grains. This creates a fizzy drink full of probiotics, vitamins, and minerals.
Health Benefits of Kefir
Kefir is great for your health. It’s full of probiotics that help your gut. This can ease digestion problems like bloating and constipation. It also has lots of calcium for strong bones and B vitamins for energy and brain health.
Drinking kefir regularly can boost your immune system. It’s packed with good bacteria and nutrients.
To see how kefir stacks up against other dairy, check this table:
| Nutrient | Kefir | Yogurt |
|---|---|---|
| Probiotics | Varied and Rich | Limited Strains |
| Protein | High | Moderate |
| Calcium | High | High |
| B Vitamins | Abundant | Moderate |
Adding kefir to your diet brings flavor and health benefits. It’s a great choice for any diet.
Essential Equipment for Making Kefir
Starting to make kefir at home needs some key tools for success. We’ll cover the main items you’ll need. They help in making kefir with a kefir starter culture.
Glass Jars
Glass jars are vital for making kefir. They keep the kefir safe from harmful reactions. Don’t use metal or plastic because they can harm the kefir.
Kefir Grains
Kefir grains are the heart of the kefir starter culture. They mix bacteria and yeast to ferment milk. This makes kefir rich in probiotics and good for your gut.
Plastic Lids and Strainers
Use plastic lids to cover your jars. Metal can rust and mess up the kefir. Also, plastic or non-metal strainers are key to keep the kefir grains separate. Metal strainers can hurt the grains and lower the kefir’s quality.
Knowing and using the right tools makes making kefir at home easy. With glass jars, active kefir starter culture, and the right plastic tools, your homemade kefir will taste great and be good for you.
Choosing the Right Milk for Kefir
Choosing the right milk is key to making great kefir at home. The type of milk affects the flavor and texture. It also impacts the probiotic fermentation and health benefits.
Cow’s Milk vs. Goat’s Milk
Cow’s milk and goat’s milk are both good for kefir. Cow’s milk is creamy and makes a rich kefir. Goat’s milk is tangy and smooth.
| Type of Milk | Flavor | Texture | Probiotic Fermentation |
|---|---|---|---|
| Cow’s Milk | Creamy and Mild | Thicker | High |
| Goat’s Milk | Earthy and Tangy | Smoother | High |
Alternative Milk Options
For those who can’t have dairy, almond, coconut, and soy milk work too. But, they might change the kefir’s taste and feel. Almond and coconut milk make thinner kefir with a nutty taste. Soy milk makes thicker kefir with a nutty flavor.
Every milk, dairy or plant-based, brings its own benefits. Knowing these differences helps you get the most from your kefir. It ensures a good fermentation and health benefits.
How to Make Kefir
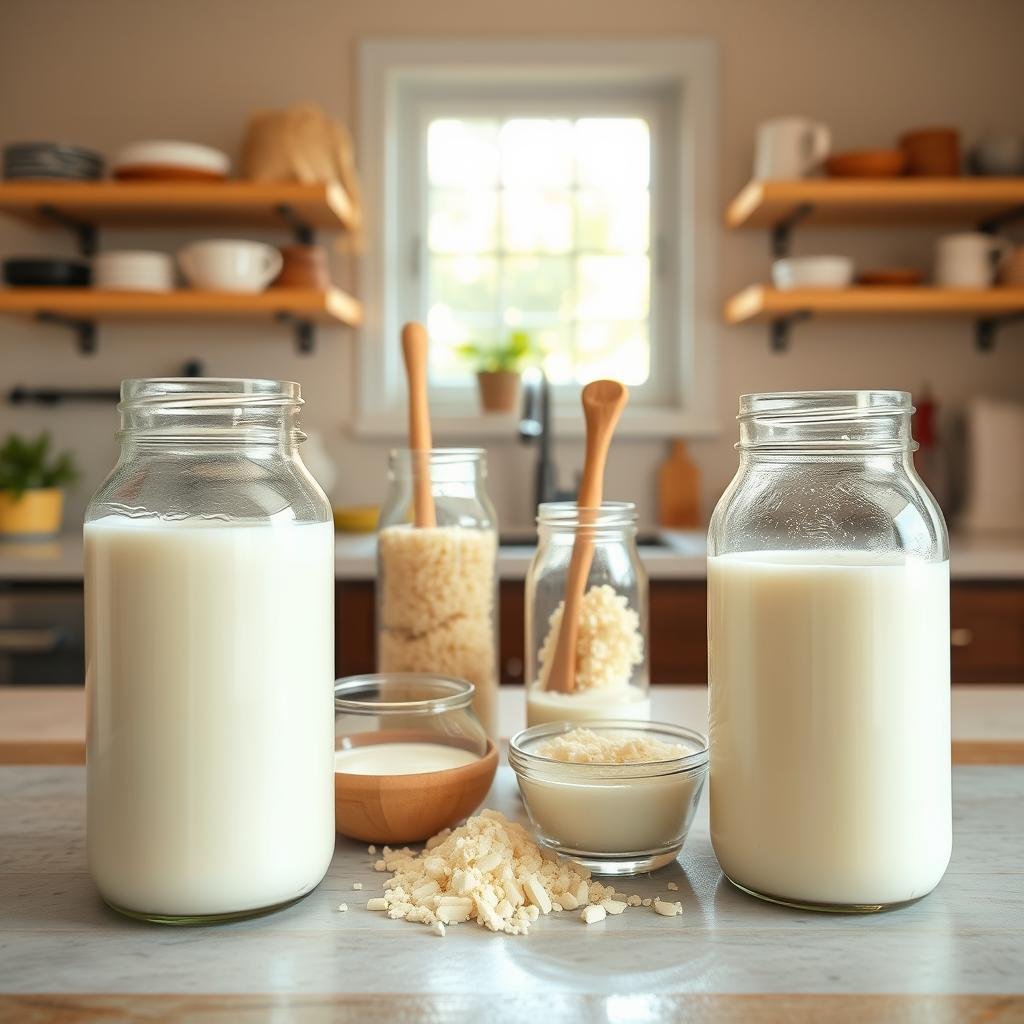
Making kefir at home is easy and fun. This homemade kefir guide will show you how. With the right stuff, you can make tasty kefir in a day.
Step-by-Step Instructions
Here’s how to make your kefir:
- Gather Your Equipment: You need a 500 ml clip-top jar, a spoon, a sieve, a jug, and a storage bottle.
- Add Kefir Grains: Put ½ teaspoon of kefir grains in the jar.
- Pour Milk: Fill the jar with a pint of milk, leaving a little room at the top.
- Optional Flavoring: Add a slice of lemon or a drop of lemon oil for flavor.
- Fermentation: Close the jar and let it sit at room temperature for 18-24 hours. The kefir grains will work their magic.
- Strain the Kefir: Strain the kefir into a clean container using a sieve, separating the grains from the liquid.
- Store Your Kefir: Put the strained kefir in a storage bottle and chill it. It can last 7-10 days in the fridge.
- Repeat: Keep your kefir grains in a jar of milk on the counter for up to a week or in the fridge for up to three weeks.
This guide also works with plant-based milks like coconut, soya, or oat milk. Make sure these milks have lots of calories and about 3.5g sugar per 100ml for the microbes to grow. Enjoy making kefir!
First Fermentation Process
The first fermentation is key to making great kefir. You need to set up everything right for the best *probiotic fermentation*. Let’s explore how to get your fermentation going and how long it should last to make perfect kefir.
Setting Up
Start by washing all your equipment with clean, non-antimicrobial soap. This helps keep out bad bacteria. You can also use white vinegar or a special sanitizer to clean your stuff.
It’s important to use kefir grains, either live or dried, to start the fermentation. A good mix is 2 tablespoons of active grains for every 2 cups of milk.
Put your mixture in a glass jar with a plastic lid or a cloth and rubber band. Make sure it’s in a spot with a temperature between 65° and 85° F (18°-29° C). This helps the fermentation go well.
Fermentation Time
Let the mixture ferment for 18-24 hours. The longer it ferments, the tangier and thicker the kefir will get. It should feel a bit thicker and smell slightly sour.
A yellow watery layer might form. You can either strain it off or mix it back in. Checking the pH level is also good; it should be between 4.0 and 4.5 after fermentation.
For more tips, check out Understanding and Making Kefir. It can help you follow all the steps for great kefir.
Straining and Storing Kefir
After the first fermentation, you need to strain and store your kefir. Straining separates the kefir grains from the liquid. Storing it right keeps it fresh and full of probiotics.
Straining Your Kefir
Start by putting a plastic strainer over a glass jar or bowl. Pour the fermented drink through it. Use a plastic or wooden spoon to mix and separate the liquid from the grains. Don’t use metal, as it can hurt the grains.
After straining, move the grains to new milk for more fermentation. Your kefir is now ready for storage.
Storage Tips
Keep your kefir fresh by storing it in a clean, airtight container. Glass jars with plastic lids work best. Put it in the fridge right after straining. Stored well, kefir stays good for up to two weeks.
Make sure the container is tightly sealed. This keeps it fresh and prevents contamination.
Second Fermentation: Adding Flavor
The second fermentation of kefir is optional but very rewarding. It makes the flavor better and adds more nutrients. You can add natural flavorings to make it even more interesting.
To start, strain your kefir into a clean jar. Then, add your favorite flavorings like fruits, herbs, or spices. Berries, lemon zest, vanilla, or ginger are great choices. Close the jar with a plastic lid and let it sit at room temperature for 24-48 hours.
This step makes the flavors mix well and increases the probiotics. Trying different flavors can create amazing kefir recipes. You can drink it straight or use it in smoothies.
Adding a second fermentation makes your homemade kefir tasty and healthy. You can make it just how you like it.
Maintaining and Growing Your Kefir Grains
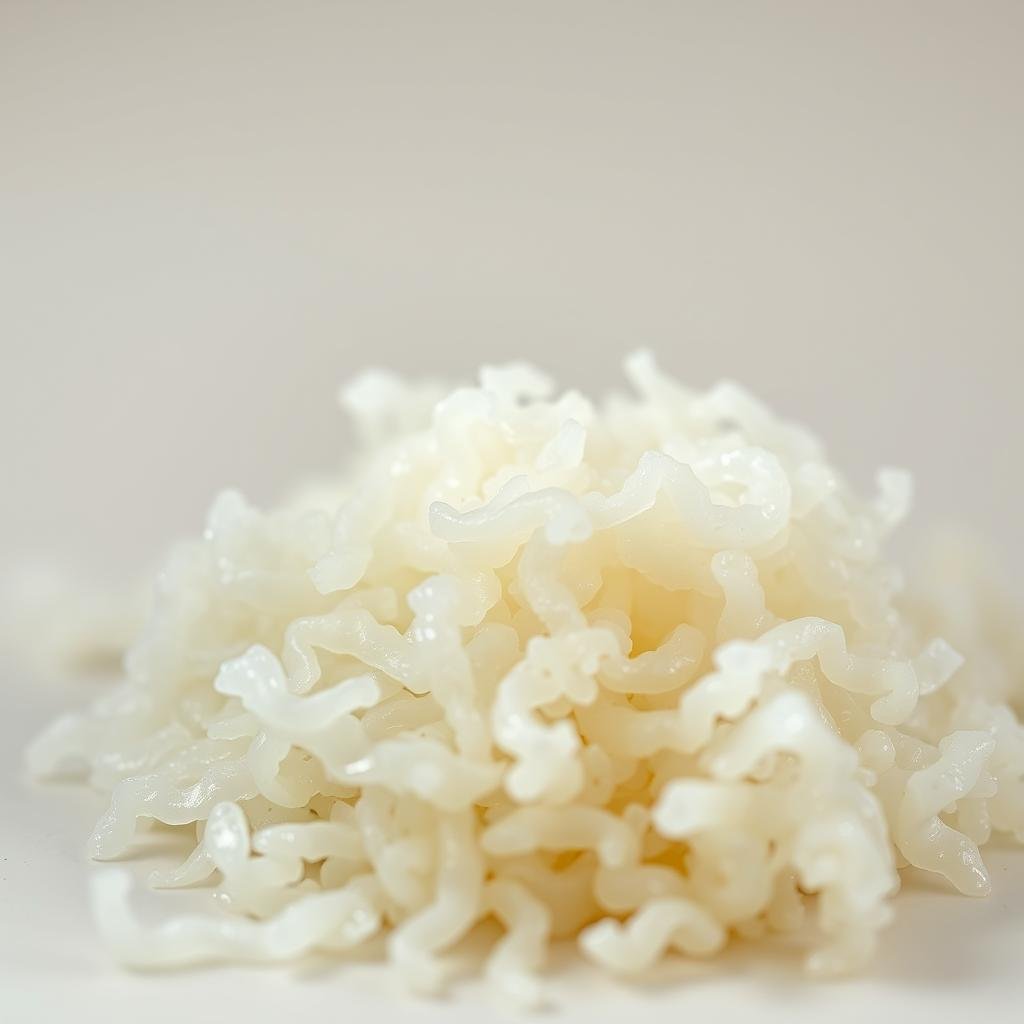
Keeping your kefir grains healthy is key for making probiotic drinks at home. With the right care, your grains will grow. This means you’ll always have fresh kefir to enjoy.
Feeding Your Grains
Feeding your kefir grains is vital for their health. Mix them with fresh milk every 24-48 hours. Using both cow’s and goat’s milk can make your kefir even better.
Sharing and Storing Extra Grains
If you have more grains than you need, share them with others. It’s a great way to spread the joy of homemade kefir. Store extra grains in fresh milk in the fridge. Change the milk every week to keep them alive.
Creative Uses for Kefir in Recipes
Adding kefir to your recipes can make your meals healthier and tastier. You can use it in smoothies or as a buttermilk substitute in baking. Here are some ideas to get you started.
Kefir Smoothies
Smoothies are a tasty way to add kefir to your diet. Mix kefir with fruits like bananas, berries, and mangoes for a creamy drink. You can also add spinach or kale for extra vitamins.
Buttermilk Substitute
Using kefir as a buttermilk substitute is another great idea. It adds a tangy flavor to baked goods like biscuits, pancakes, and muffins. Just swap buttermilk with kefir for a healthier option.
Discovering these uses can make your meals healthier and more flavorful.
Troubleshooting Common Kefir Issues

Making kefir at home can be rewarding but sometimes tricky. Even experienced fermenters face problems. Here, we tackle common issues and solutions to make your kefir perfect every time.
Why is My Kefir Not Thickening?
If your kefir isn’t thick, there are a few reasons:
- Grain to Milk Ratio: Make sure you have the right amount of kefir grains for your milk. Too few grains can slow down fermentation.
- Fermentation Time: It might just need more time. Fermenting at a cooler room temperature can take longer.
- Grain Health: Kefir grains can lose strength over time. Keep them healthy by regularly feeding and caring for them.
- Milk Quality: Using high-quality, full-fat milk can make thicker kefir. Check the type of milk you’re using.
Understanding Kefir Smells and Tastes
At times, your kefir might smell or taste bad. Here’s how to fix issues with its smell and taste:
- Over-fermentation: If it smells sour or tastes sharp, it’s fermented too long. Try fermenting it for less time.
- Improper Storage: Store your kefir in the fridge after straining to slow fermentation. Leaving it out too long can change its taste.
- Unhealthy Grains: Dead grains can cause bad smells. Refresh your grains by rinsing them with filtered water.
Advanced Tips for Kefir Enthuasiasts
Now that you know how to make kefir, it’s time to get better at it. Try extending the first fermentation time. Let your kefir ferment for up to 48 hours for a tangier taste.
Temperature is key. Keep your kefir at 68-72°F (20-22°C) for better probiotics. Use a thermometer to check the temperature.
Don’t just use cow’s milk. Try goat’s milk or coconut milk for different tastes. Also, change the milk-to-grains ratio for creamier kefir.
For better taste and probiotics, try double fermentation. Strain your kefir, then let it sit for 12-24 hours. Add fruits, herbs, or spices for extra flavor.
Keep your grains active for good kefir. Feed them fresh milk and adjust fermentation times. Store extra grains in goat’s milk to keep them alive.
Understanding your kefir grains and adjusting the process can make your kefir special. These tips will make your homemade kefir taste better and be healthier.
Why Making Kefir at Home is Worth It
Making kefir at home has many benefits. One big one is the boost it gives to your gut health. Homemade kefir is full of probiotics like Bifidobacterium lactis. It helps keep your digestive system regular and fights off bad bacteria.
It also helps strengthen your immune system. Kefir has lots of good bacteria that work well with your gut. This is great for keeping you healthy.
Another big plus is the money you save. Store-bought kefir can be expensive. But making it at home is much cheaper. You just need a small amount of kefir grains and milk to start.
These grains grow fast, doubling every two weeks. This means you can share with friends or make more kefir later. It’s a great way to save money and enjoy a tasty drink.
Making kefir at home is also very rewarding. It lets you try different milks, like dairy or plant-based ones. You learn about fermentation and connect more with your food.
This makes cooking a fun and creative process. Making homemade kefir is a mix of good health, saving money, and enjoying cooking. It’s definitely worth trying.
