Easy DIY Guide on How to Make Kevita at Home

In this easy DIY guide, we’ll show you how to make Kevita at home. This refreshing probiotic drink is known for its health benefits. Making your own homemade Kevita is simple and rewarding.
It supports your gut health and boosts your energy. You’ll learn about the tools, ingredients, and techniques to make your own DIY Kevita.
What is Kevita and Its Health Benefits?
Kevita is a fermented, vegan probiotic drink. It’s known for its health perks. Unlike regular kefir, it’s dairy-free and gluten-free.
It’s made from live water kefir grains. These grains turn sugars into probiotics. This makes Kevita a tasty, healthy drink.
Overview of Kevita
Kevita’s special mix comes from its fermentation. Live water kefir grains are used. These grains are a mix of bacteria and yeast.
They eat sugars and turn them into good probiotics. This means Kevita is full of probiotics but low in sugar. It’s great for your digestion and immune system.
Nutritional Benefits
Kevita is full of vitamins and minerals. These help keep you healthy. It also has up to 40 different bacteria strains.
This supports a healthy gut and immune system. A healthy gut is key for good digestion and immune function.
Probiotic Properties
Kevita is packed with live cultures. These cultures are good for your gut. They help keep your gut healthy and improve digestion.
Many people say Kevita boosts their energy and strengthens their immune system. Adding Kevita to your daily routine can be very beneficial.
It’s a favorite among health-conscious people. Whether you make it yourself or buy it, Kevita’s benefits are clear.
Ingredients Needed to Make Kevita
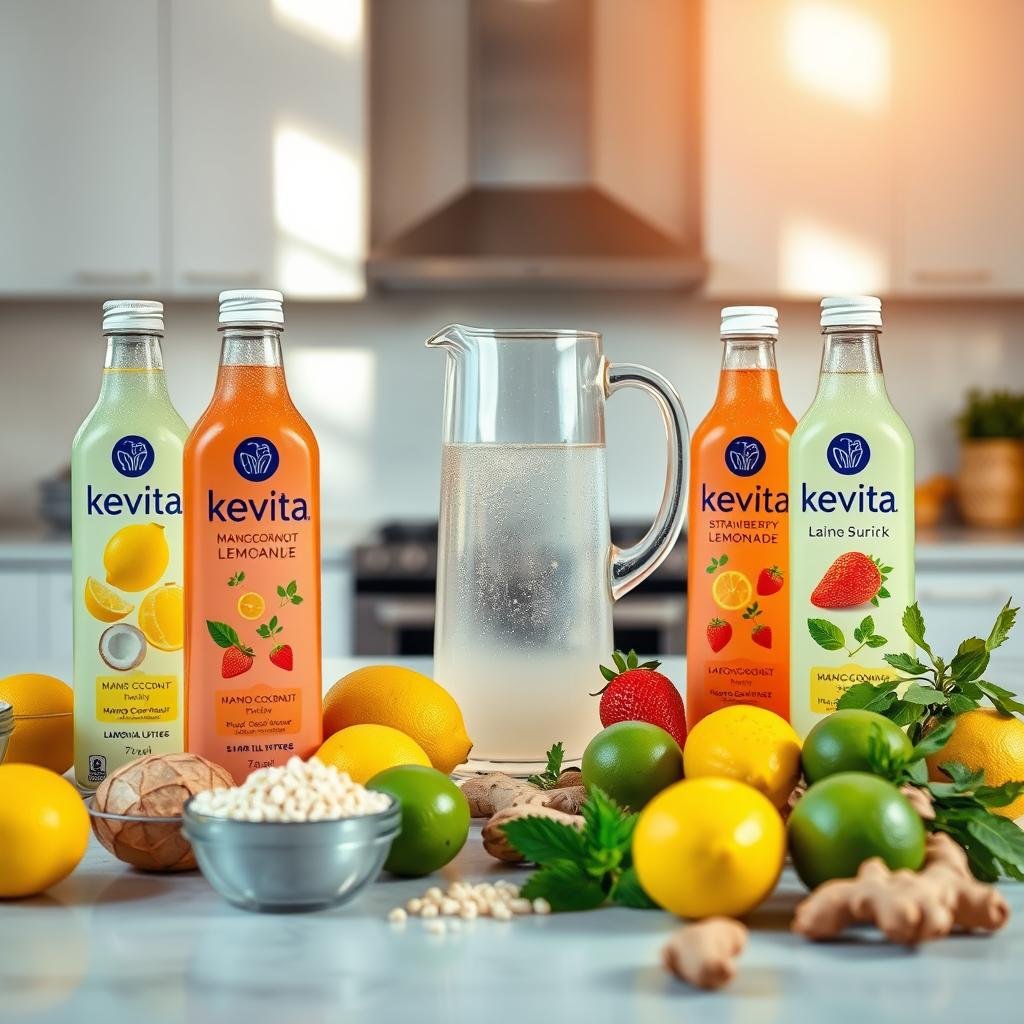
Making homemade kevita is fun and healthy. You need to pick the right ingredients. They help with fermentation and make the drink tasty and good for you.
Primary Ingredients Explained
The main things you need for homemade kevita are:
- Water Kefir Grains: These are key for fermentation. They have good bacteria and yeast that turn sugar into a healthy drink.
- Water: Use filtered or spring water. It keeps the kefir grains safe from bad chemicals.
- Sugar: Use organic cane sugar or coconut sugar. It feeds the kefir grains so they can ferment well.
Optional Flavor Additions
You can make your kevita taste even better with these:
- Fruits: Try adding fresh berries, peaches, or citrus fruits. They make the drink sweeter and more interesting.
- Spices: Ginger, turmeric, and cinnamon add spice and health benefits.
- Dried Fruits: Raisins, figs, and dates give a deeper flavor as they ferment.
Playing with flavors is the best part of making homemade kevita. Try different mixes to find your favorite.
Tools and Equipment for Making Kevita

Making DIY kevita at home needs a few key tools and containers. The right equipment makes your brew better and the process more fun.
Essential Kitchen Tools
A fine mesh strainer is key for smooth kevita. You’ll also need 2-quart mason jars for the first fermentation. A kitchen towel helps cover the jars, letting air in and keeping out bad stuff.
Recommended Containers
For storing and secondary fermentation, use bottles or jars that can handle pressure. Glass is best because it’s strong and safe for the fizzy drink. This equipment helps get the fizz and flavor just right.
Step-by-Step Process to Make Kevita
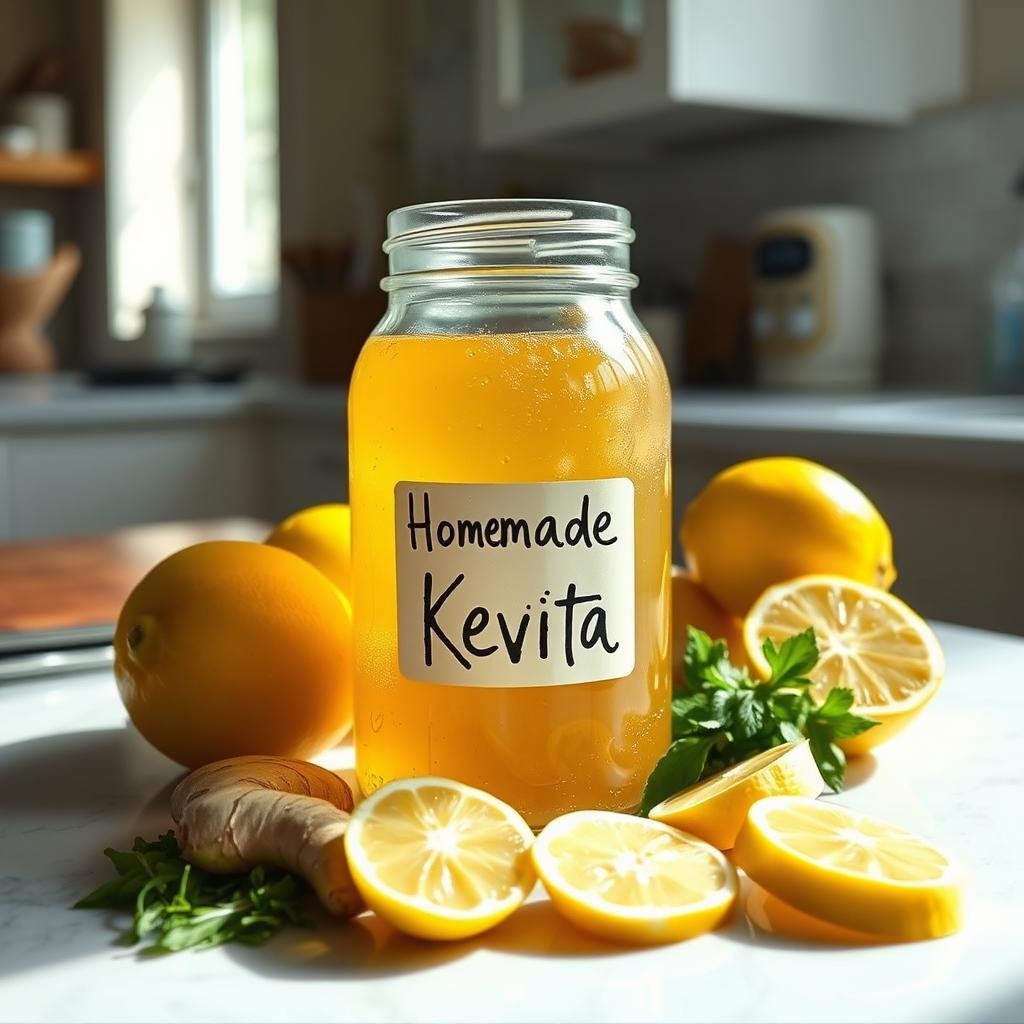
Making Kevita at home is easy and rewarding. It’s all about careful fermentation. This guide will help you make a tasty and healthy Kevita.
Preparing the Base
First, mix 1 cup of organic sugar into 1 quart of water. Stir until the sugar is gone. Then, add 1/4 cup of water kefir grains to start your Kevita.
Fermentation Process
Put the sugar-water and kefir grains mix in a glass jar. Cover it with a cloth and a rubber band. Keep it in a warm, dark spot for 24 to 72 hours. The longer it sits, the tangier it gets.
Finalizing Your Brew
After fermentation, strain out the kefir grains with a non-metal strainer. Add fruit or juice for more flavor and fizz. Let it sit for 24 to 48 hours in sealed bottles. Then, chill it in the fridge to stop fermentation and enjoy your probiotic drink.
By following these steps, you can make a refreshing, healthy drink at home. Try different flavors to find your favorite Kevita recipe.
Flavor Variations for Your Kevita
Creating exciting flavors for your homemade kevita is endless. Try different fruits, herbs, and spices. This can lead to new tastes that everyone will enjoy.
Herbal and Fruit Infusions
Mixing fresh or dried herbs with fruit-infused kevita is refreshing. Try strawberry-raspberry with mint or peach-ginger with basil. Homemade kevita lets you use almost any herb or fruit, making each batch unique.
For more ideas, see this guide on making water kefir. It also works for kevita.
Spicy and Savory Takes
Want a kick? Try ginger or cayenne pepper in your kevita. Lemon and cayenne mix for a spicy, zesty drink. Other ideas include turmeric with black pepper or pineapple with thyme for a sweet and savory taste.
Sweet Variations
For a sweet treat, try concord grape with vanilla or pineapple-thyme. Adding fruit juice or puree makes it sweet and bubbly. Mixing different sweet flavors can surprise you, making your kevita a favorite for all.
Troubleshooting Common Issues During Fermentation
Making homemade kevita can be rewarding, but problems can happen. Knowing how to fix these issues quickly is key. This way, your drinks will always be perfect.
Over-Fermentation Signs
Over-fermentation makes your drink too sour or tastes bad. Spotting these signs early is important. To fix it, try making your next batch ferment for less time.
Also, keep an eye on the temperature. It should be between 75-85°F (24-30°C) for the best taste. For more tips on carbonation, check out this page.
Under-Fermentation Solutions
Under-fermented kevita tastes too sweet. This might be because it didn’t ferment enough or because the kefir grains weren’t active. To fix it, let it ferment for longer and make sure your kefir grains are healthy.
Stir the brew before bottling to spread yeast evenly. Use a tightly sealed container for the second fermentation to increase carbonation. Keeping bottles at room temperature helps fermentation and makes your kevita taste better.
How to Store Your Homemade Kevita
Storing your homemade Kevita right is key to keeping its taste and health benefits. Whether you’re new to DIY kevita or a pro, knowing how to store it is important. This way, your drink will stay fresh and bubbly for a long time.
Best Storage Practices
For the best results, store your Kevita in airtight containers. Put it in the fridge right after the second fermentation. This slows down fermentation and keeps it bubbly.
Also, burp metal lids every 6-12 hours during the second fermentation. This prevents the drink from exploding due to gas.
If you’re storing kevita grains in the fridge, put them in a smaller jar. Fill it with water or extra Kevita water. Don’t forget to feed the grains with sugar at least once a week. This keeps them alive and healthy.
Shelf Life Expectations
It’s best to drink homemade Kevita within a week for the best taste and fizz. But, if stored well, it can last longer. For more tips on DIY kevita fermentation and storage, check out this link.
To keep grains alive in the fridge, add one tablespoon of sugar to two cups of water. Change the water every 2-3 weeks.
| Storage Item | Recommended Practice |
|---|---|
| Finished Kevita | Airtight container; refrigerate immediately |
| Kevita Grains | Smaller jar with water/sugar solution; refrigerate and feed weekly |
| Feeding Frequency (Grains) | At least once a week |
| Shelf Life (Finished Kevita) | Consume within a week for optimal flavor |
Incorporating Kevita into Your Diet
Adding kevita to your diet can be fun and good for your stomach. Follow these tips to easily add this drink to your daily life.
Suggested Serving Ideas
Start by drinking Kevita alone. Try a small amount, like a glass a day, to ease into the probiotics. You can also mix it with fruits for a tasty smoothie. Or, freeze it into cubes to add probiotics to your water.
Pairing with Meals
Kevita goes well with light meals, making them taste better and easier to digest. Try it with salads for a crisp, refreshing taste. It’s also great with seafood, like shrimp or salmon.
For a full meal, pair Kevita with grain bowls. These bowls have quinoa, veggies, and protein. This way, Kevita fits well into your meals.
| Meal Type | Kevita Pairing |
|---|---|
| Salads | Refreshing, tangy pairing |
| Seafood | Enhances flavor and aids digestion |
| Grain Bowls | Balanced and nutrient-rich combination |
Frequently Asked Questions about Making Kevita
Exploring homemade Kevita, a probiotic drink, raises many questions. We’ll answer some common ones about making this drink at home.
Common Queries and Answers
Many ask about the water type. Use filtered or spring water to avoid chlorine, which harms kefir grains. Another question is about sugar. Organic sugar is better for fewer impurities and a cleaner process.
The fermentation time is another concern. It’s usually 24 to 48 hours, depending on taste and strength. Watch it closely to avoid it getting too tart.
Tips from Expert Brewmasters
Expert brewmasters stress a clean environment. Sanitize your tools and containers to prevent contamination. They also suggest using organic ingredients for healthy kefir grains.
Bill Moses, co-founder of Kevita, brings winemaking expertise. He uses innovative methods for fermentation. For more, see Bill Moses’ interview.
By following these tips, you’ll make a tasty and healthy homemade Kevita.
