How to Tell When Fermentation Is Complete Without Hydrometer
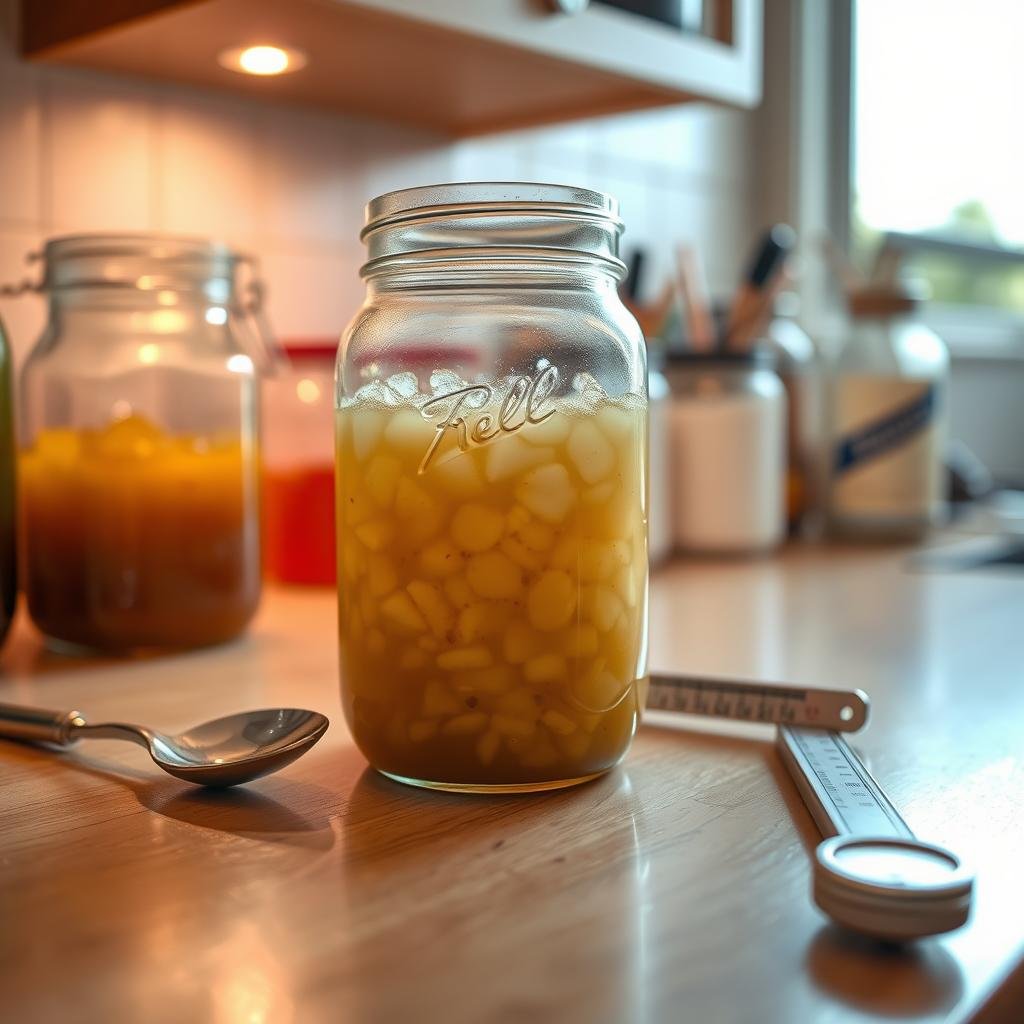
Knowing when fermentation is done without a hydrometer is key for brewing success. It saves time and resources. A hydrometer measures the wort’s specific gravity, showing fermentation levels. But, sometimes, you might not have one.
Then, you must look for visual signs and other clues of complete fermentation. Fermentation turns sugars into alcohol and CO2. By measuring fermentation progress, brewers get the right taste and alcohol level. Watching for signs without tools is important.
This guide shows how to check fermentation without a hydrometer. Look at airlock changes and CO2 bubbles. These signs help make sure your brew is perfect.
Introduction to Fermentation Without Hydrometer
Many homebrewers find hydrometers hard to use. Skipping them can be a good choice for several reasons. It’s about making brewing easier or sticking to a certain way of doing things.
Why You Might Skip the Hydrometer
Some brewers want a simpler way to brew. Others might not have the money or access to hydrometers. Luckily, there are other ways to check if fermentation is done.
Understanding the Basics of Fermentation
Fermentation is cool because yeast turns sugars into alcohol and CO2. Things like yeast type, sugar amount, and environment affect this process. Knowing these basics helps brewers check if fermentation is complete without hydrometers.
Types of Yeasts and Their Impact on Fermentation Time
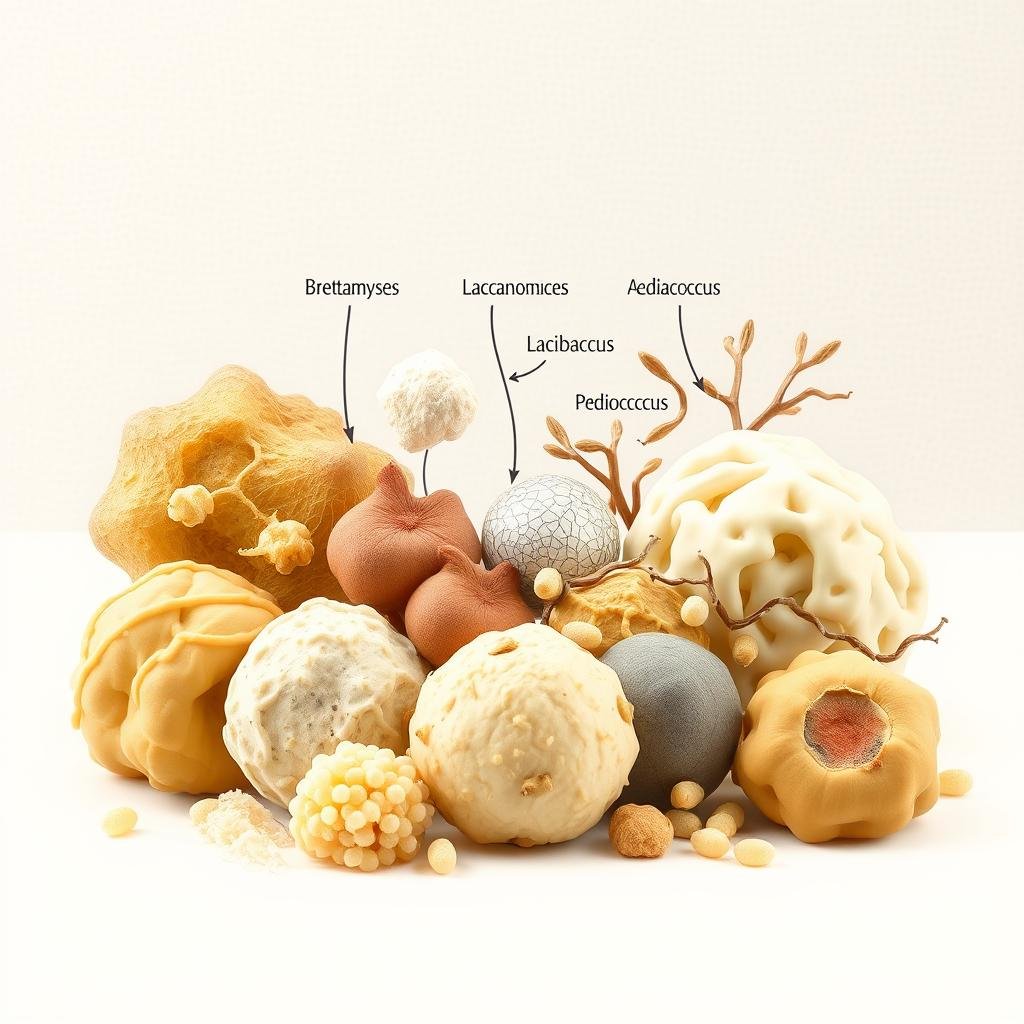
Knowing about different yeasts is key to managing brewing times. Yeast types affect how long and how well beer ferments. This includes top-fermenting, bottom-fermenting, and special yeasts like turbo and Norwegian Kveik.
Top-Fermenting vs. Bottom-Fermenting Yeasts
Top-fermenting yeasts like Saccharomyces cerevisiae ferment fast and work well in warm temperatures. They ferment at the beer’s top and are great for ales because they work quickly.
Bottom-fermenting yeasts, like Saccharomyces pastorianus, ferment slower and prefer cooler temperatures. They settle at the bottom, making them perfect for lagers that need a slow, controlled fermentation.
Turbo Yeasts and Norwegian Kveik Yeasts
Turbo yeasts are made to speed up fermentation. They have nutrients that help them grow in different conditions. This makes them ferment faster and produce more alcohol.
Norwegian Kveik yeasts are special because they ferment well in warm temperatures. They come from traditional Norwegian brewing. They make beer ferment faster and add unique flavors.
| Yeast Type | Fermentation Time | Ideal Temperature Range |
|---|---|---|
| Top-Fermenting | 3-7 days | 15-24°C (59-75°F) |
| Bottom-Fermenting | 1-3 months | 7-13°C (45-55°F) |
| Turbo Yeasts | 1-2 days | 20-30°C (68-86°F) |
| Norwegian Kveik Yeasts | 1-3 days | 25-40°C (77-104°F) |
Visual Signs That Indicate Fermentation is Almost Complete
Fermentation is a cool process to watch. You can see when it’s almost done by looking for certain signs. These signs help you know how your fermentation is doing without a hydrometer.
Changes in the Airlock
One key sign is the airlock’s activity. At first, it bubbles a lot as gas goes out. But as fermentation goes on, the bubbles slow down a lot. An insightful source says if the airlock bubbles less, it might mean fermentation is almost over.
Observing the Krausen
Watching the krausen is also helpful. Krausen is the foamy top on the fermenting liquid from yeast. As it goes on, this foam starts to fall back into the liquid. This means the active fermentation phase is ending.
Yeast Sinking to the Bottom
Lastly, you can see yeast activity by watching the sediment. When fermentation is done, yeast and other stuff settle at the bottom. This shows that yeast activity has slowed down, meaning fermentation is over.
Using Bubbles to Monitor Fermentation Progress
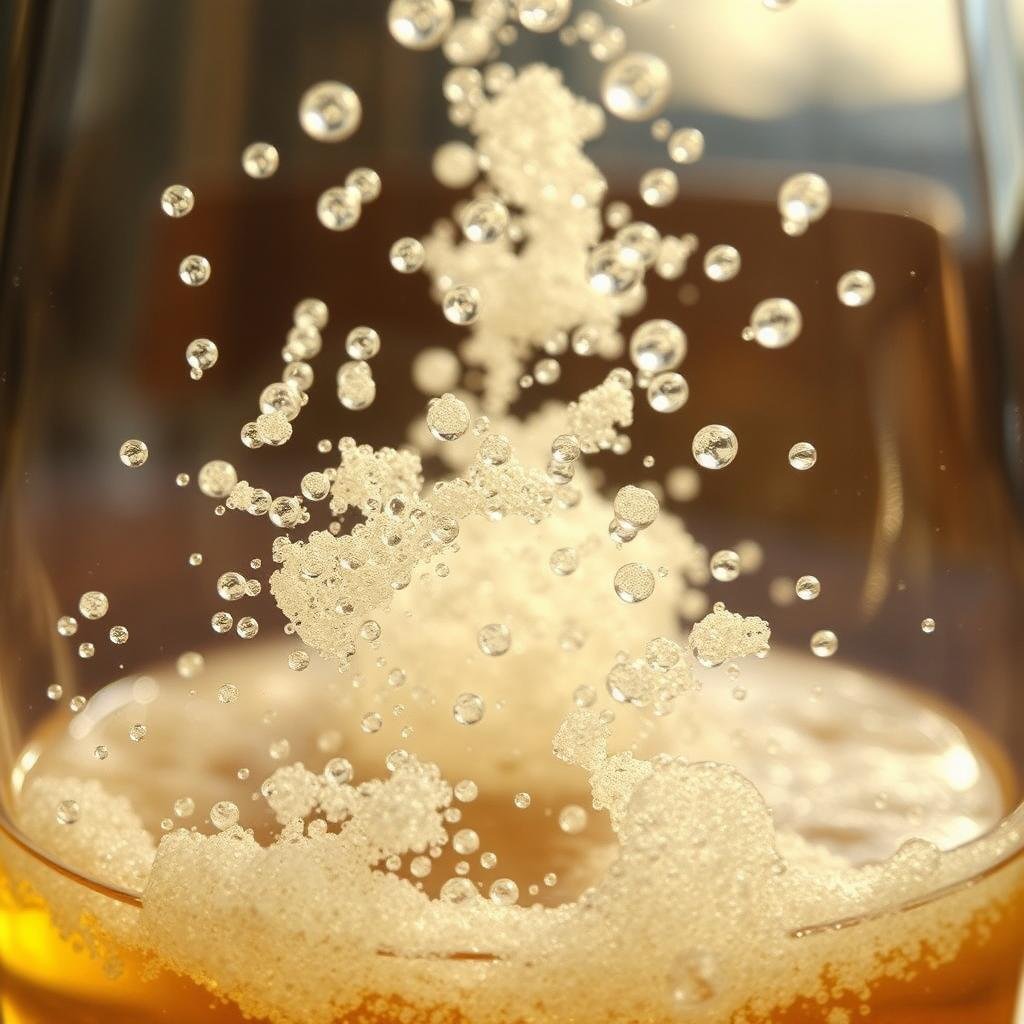
Monitoring fermentation with bubbles is key for home brewers. It shows if fermentation is going well without a hydrometer. The airlock captures CO2, a sign that fermentation is moving forward.
This visual clue tells brewers if things are going right. It also signals when fermentation is almost done.
Role of CO2 Bubbles
CO2 bubbles in the airlock show fermentation is happening. In the first 12-48 hours, many bubbles mean active fermentation. Yeast breaks down sugars, releasing CO2.
Seeing these bubbles confirms the fermentation is active and on time. For beginners, watching for bubbles is vital for a good brew.
Interpreting Airlock Activity
Understanding airlock signs is important. The bubble rate shows how active fermentation is. At first, lots of bubbles mean it’s working hard.
As time goes on, bubbling slows down. After 14 days, if it’s bubbling, fermentation keeps going. But if bubbles slow down or stop for a bit, it means fermentation is done.
If the airlock is quiet after 18-24 hours, check the lid and airlock. A little shake might help. If not, adding more yeast might be needed. Keep the area around 70°F for best fermentation.
For more tips on fermentation, check out Clawhammer Supply’s blog.
Temperature and Fermentation Completion
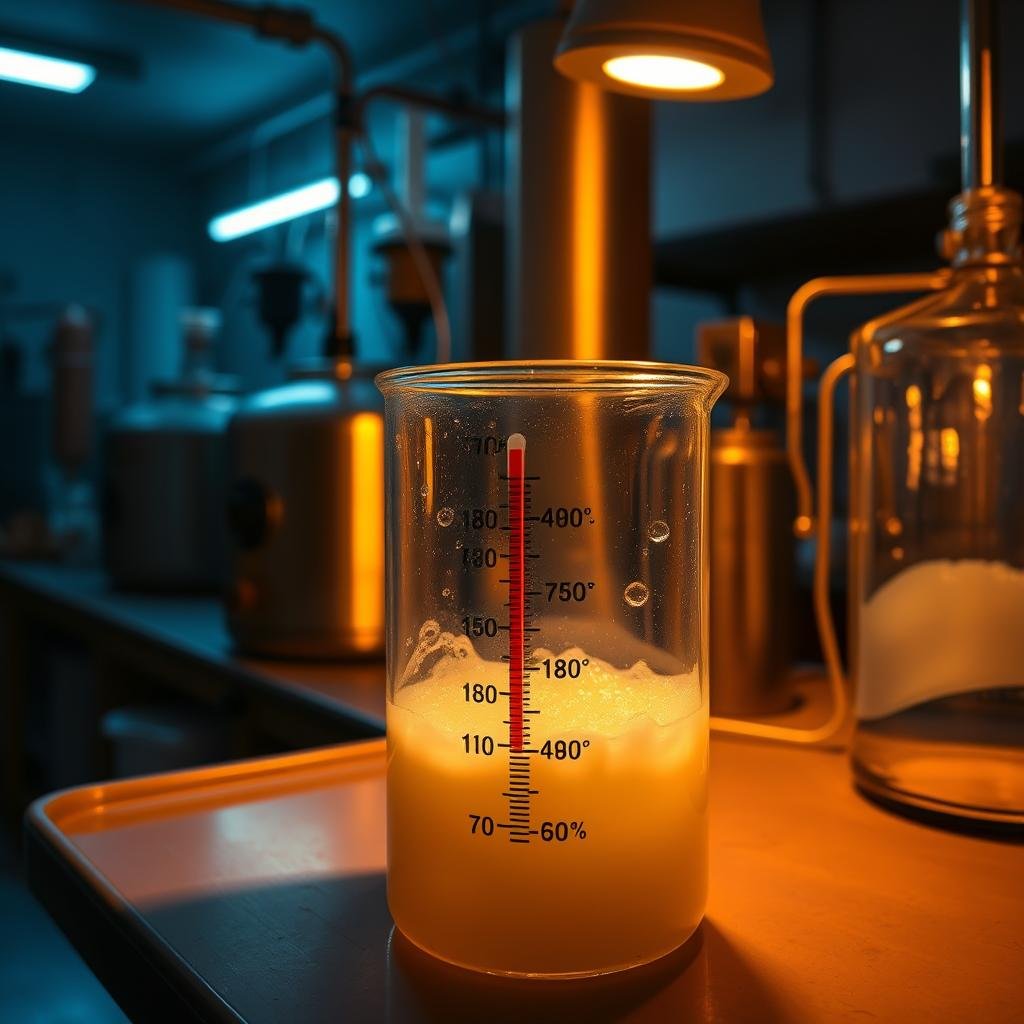
The temperature of fermentation greatly affects its speed and quality. It’s key to know how temperature impacts fermentation for success.
Impact of Ambient Temperature
Ambient temperature is very important for fermentation speed. A mash at 80 degrees Fahrenheit ferments faster than one at 55 degrees. But, both temperatures have their challenges. Keeping a consistent temperature is vital for good fermentation.
The ambient temperature affects fermentation speed and quality. Too cold slows it down, while too hot can cause bad flavors and bacteria. So, it’s important to watch the temperature closely.
Ideal Fermentation Temperatures
Knowing the best temperatures for fermentation is key for a good product. Room temperature, about 70 degrees Fahrenheit, is usually best. This makes it easy to check fermentation by watching the airlock every 12 hours at first. After that, just wait for 14 days.
Any changes might need adjustments, like adding more yeast or tightening seals.
Here’s a table showing the best temperatures for different yeasts:
| Type of Yeast | Optimal Temperature Range (°F) | Characteristics |
|---|---|---|
| Top-Fermenting Yeast | 65-75 | Fruity and estery flavors |
| Bottom-Fermenting Yeast | 45-55 | Cleaner and crisper taste |
| Turbo Yeast | 70-85 | Higher alcohol tolerance, rapid fermentation |
| Norwegian Kveik Yeast | 70-100 | High-temperature tolerance, fast fermentation |
How to Tell When Fermentation Is Complete Without Hydrometer
Figuring out when fermentation is done without a hydrometer can be hard. But, you can do it by watching for certain signs. These signs help you know when the fermentation is complete.
Observational Techniques
Watching your brew closely is key. Check the airlock for bubbles first. If bubbles slow down, it’s a good sign.
Make sure the lid and airlock are tight. Gently swirl the vessel to help if needed.
Remember, yeast and temperature matter a lot. Turbo yeasts and Norwegian Kveik yeasts work faster. Keeping the mash at 70°F helps too.
Waiting Period After Activity Stops
After airlock activity slows, wait a bit. Let it sit for about 14 days at 70°F. This is even if you see bubbles at first.
If bubbles keep coming, wait a few more days. Stop when there’s no bubbling for at least two minutes.
If it’s been 18-24 hours and there’s no activity, check the lid. If it’s tight, swirl the vessel gently. If needed, add more yeast and wait 18-48 hours.
Common Mistakes to Avoid
Fermentation is an art that needs focus and care. Even experts can make mistakes that ruin their work. Knowing these mistakes helps you make better beer or food.
Premature Bottling Risks
Bottling too early is a big mistake. It can lead to bottle bombs. This happens when sugars keep fermenting, making too much CO2.
Make sure fermentation is done before bottling. This avoids messy and dangerous problems.
Ignoring Temperature Variations
Not controlling temperature is another big mistake. Fermentation needs a steady temperature. Changes can ruin the taste and stop fermentation.
Keeping the temperature right helps yeast work well. It stops the batch from going bad. Not watching temperature can lead to mistakes that are easy to fix.
Practical Tips for Beginners
Starting to brew at home is both fun and challenging. With the right steps, beginners can make great beer. Here are some key tips for home brewing beginners to help you succeed.
Reading the Signs Accurately
Knowing how to read fermentation signs is very important. It helps your beer taste its best. Look for airlock bubbles, krausen changes, and yeast settling at the bottom.
Temperature plays a big role in these signs. Always check your brew’s specific gravity at 60 or 68 °F (16 or 20 °C).
To get more accurate readings, spin your hydrometer to remove CO2 bubbles. Read it at eye level. You can also use Clinitest tablets, but be careful with red wines.
For more tips, see this guide on judging fermentation completion.
Using a Secondary Fermenter
The benefits of secondary fermentation are huge for beginners. It makes your beer clearer and more stable. Move your brew to a secondary fermenter after primary fermentation.
This lets yeast and particles settle, making your beer clearer. It also reduces off-flavors from trub and dead yeast. Make sure your secondary fermenter is clean and watch for signs of fermentation.
| Primary Fermentation | Secondary Fermentation |
|---|---|
| Shorter duration, high activity | Longer duration, low activity |
| High yeast and trub presence | Clearer brew, sediment settles |
| Potential off-flavors if prolonged | Enhanced flavor clarity and stability |
Final Steps Before Bottling
As you near the end of brewing, it’s key to check fermentation. Look for no airlock activity to know it’s time to bottle. Check the airlock every 12 hours for the first 12-48 hours after adding yeast.
If bubbles are seen after 14 days, wait a few more days. Make sure there’s no bubbling for at least one to two minutes before bottling.
Before bottling, make sure the yeast has settled and fermentation is complete. If there’s no airlock activity after 18-24 hours, check that the lid and airlock are tight. Swirling the fermenter gently might help if there’s no activity.
Check again after 12 hours. If all else fails, adding more yeast might be needed. Keep the temperature around 70°F during this time.
Being patient and careful is important for complete fermentation. Let the mash sit for up to 14 days at 70°F. If bubbles keep coming, wait a few more days.
For more detailed guidance, visit here. Once you’re sure fermentation is done, you can bottle with confidence.
