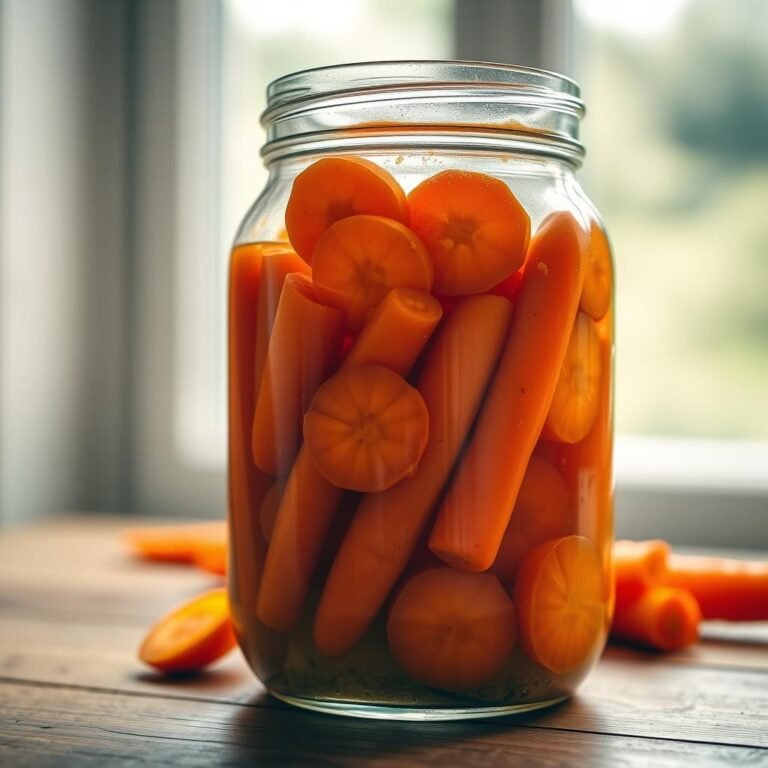
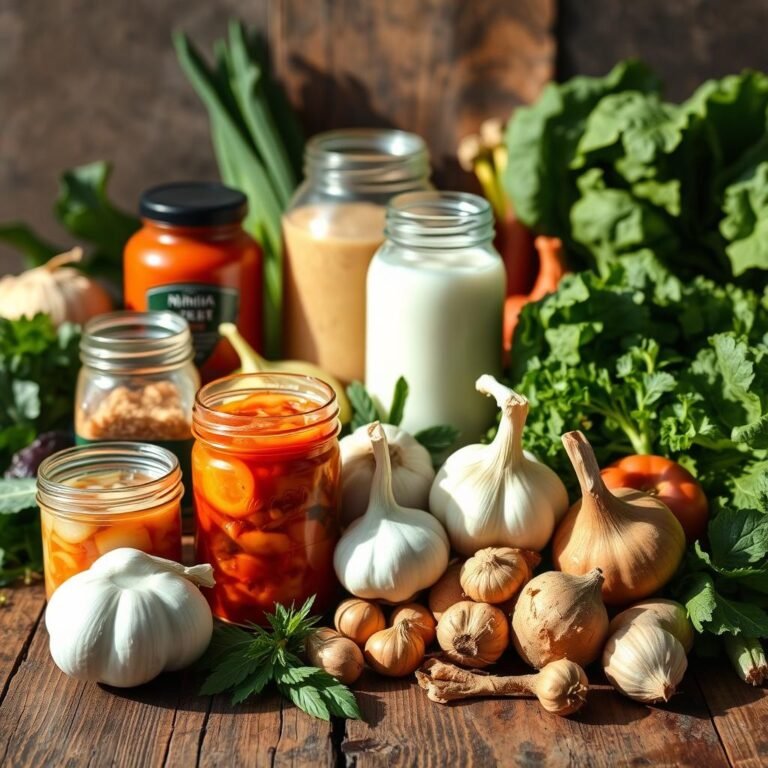
How to Make Fermented Vegetables at Home: Step-by-Step Guide
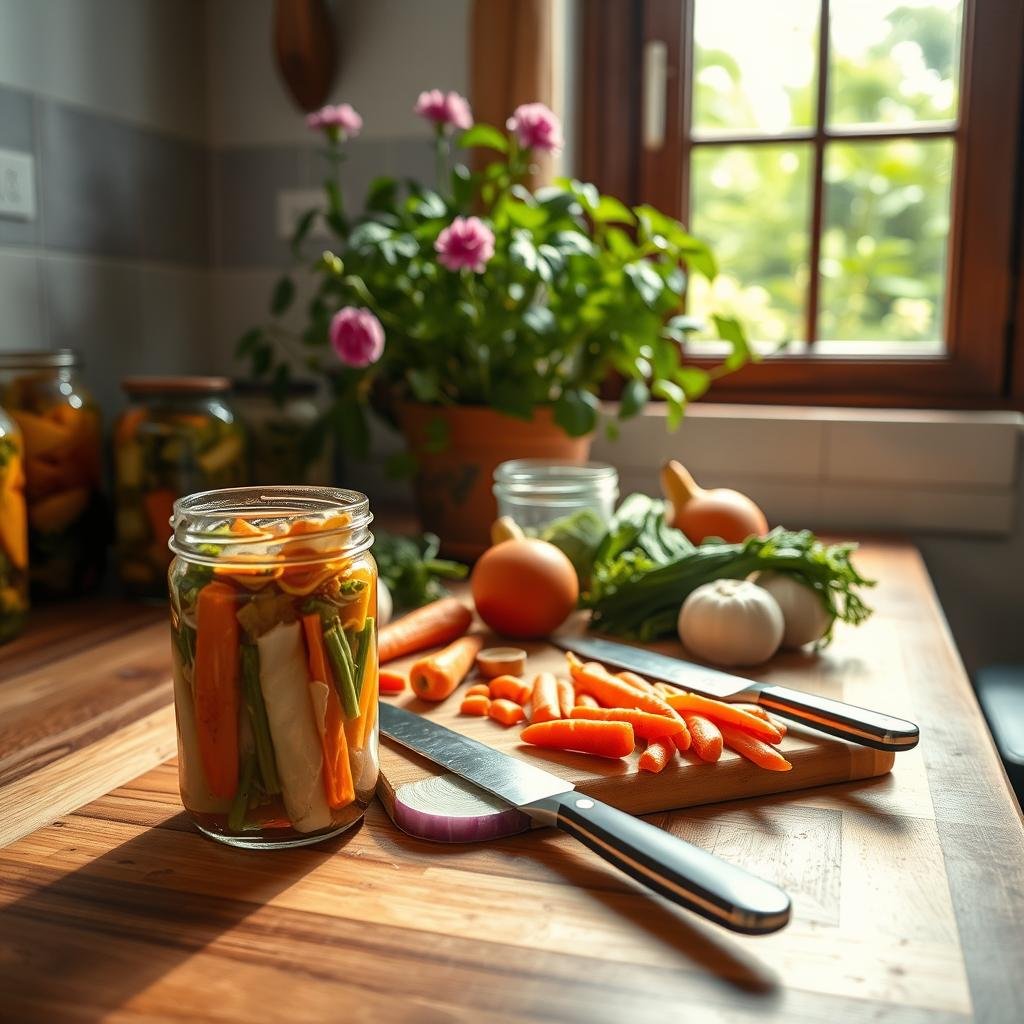
Fermented vegetables are great for those who love to cook at home and want to be healthy. This guide will show you how to make fermented vegetables at home. You’ll learn about picking your veggies, choosing containers, and the fermentation process.
Making homemade fermented vegetables is fun and good for you. It’s a way to get more probiotics and taste better food. This guide will help you learn the basics and get creative with fermentation.
Follow these tips to make your own fermented veggies. They taste amazing and are good for you. For more info, check out this guide on easy fermented veggies.
Understanding Fermentation
Fermentation is an old way to keep food fresh. It happens without oxygen. This method uses lactic acid bacteria to turn sugars in veggies into lactic acid. This makes the veggies last longer and taste better.
What is Fermentation?
Fermenting veggies at home uses natural bacteria. These bacteria change the veggies’ sugars into lactic acid. This makes the veggies last longer by stopping bad bacteria from growing.
Benefits of Eating Fermented Vegetables
Eating fermented veggies is very good for you. They are full of nutrients that help your health.
- Improved Gut Health: Fermented veggies have probiotics. These help your gut and can make you feel better.
- Enhanced Nutritional Value: Fermentation makes nutrients easier for your body to use. It boosts vitamins like B and C.
- Antioxidant Properties: The bacteria in fermented veggies fight off harmful free radicals. This can lower the risk of many diseases.
To get the best results, keep the veggies at 50-65˚F while fermenting. After, store them in the fridge or a cool place. This keeps their taste and texture for months or even years.
Choosing the Right Vegetables
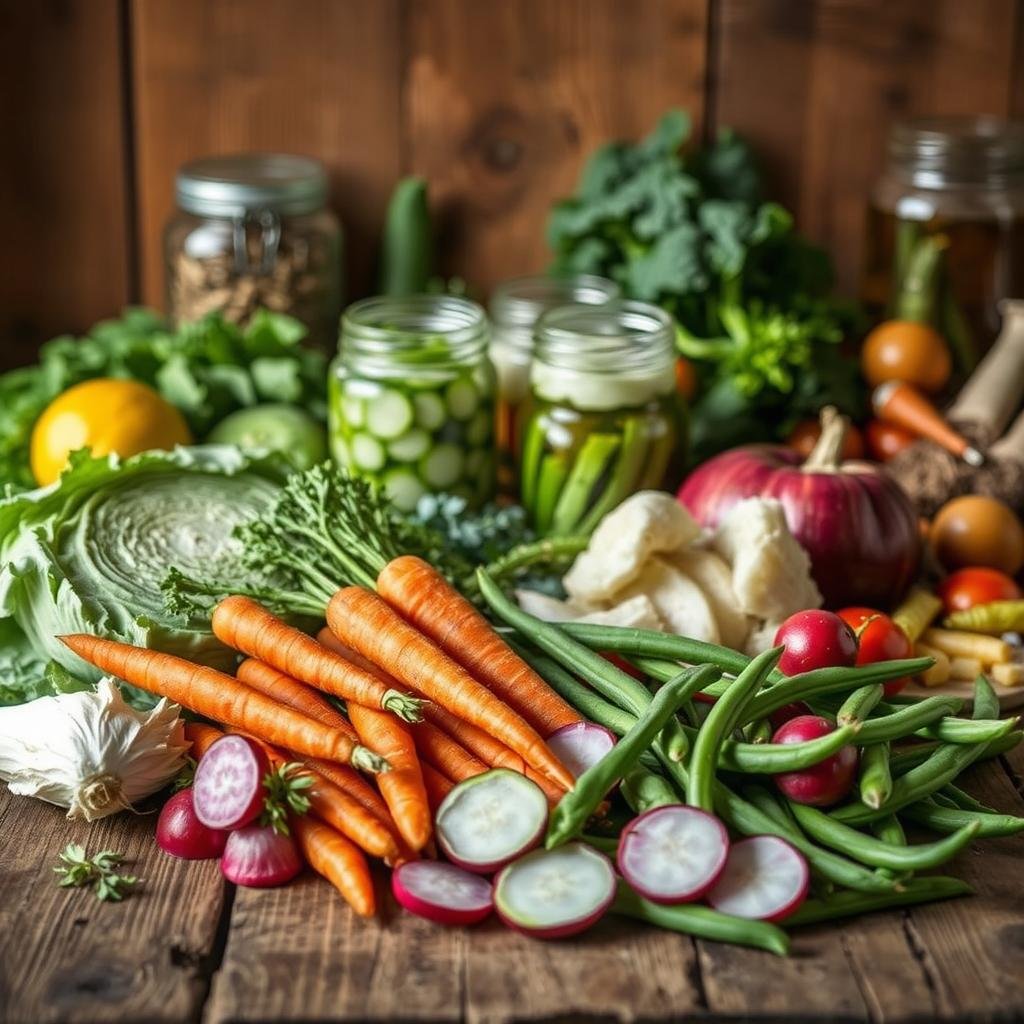
Choosing the right vegetables is key when fermenting for beginners. Fresh, high-quality veggies lead to better taste and quality. It’s important to pick veggies based on taste and what’s in season.
Suggested Vegetables for Fermentation
Here are top picks for beginners:
- Cabbage: Great for sauerkraut or kimchi.
- Cucumbers: Perfect for pickles, adding crunch.
- Carrots: Sweet and crunchy, adds flavor.
- Peppers: Spice up your ferment with them.
Seasonal Considerations
Using seasonal veggies boosts flavor and nutrition. Here’s a guide for seasonal fermenting:
| Season | Suggested Vegetables for Fermentation |
|---|---|
| Spring | Asparagus, radishes, early cabbage |
| Summer | Cucumbers, bell peppers, zucchini |
| Fall | Carrots, beets, late cabbage |
| Winter | Root veggies like turnips and parsnips |
In short, focus on both suggested and seasonal veggies. This variety enhances flavors and nutrition, making your fermenting journey rewarding.
Essential Equipment for Fermenting
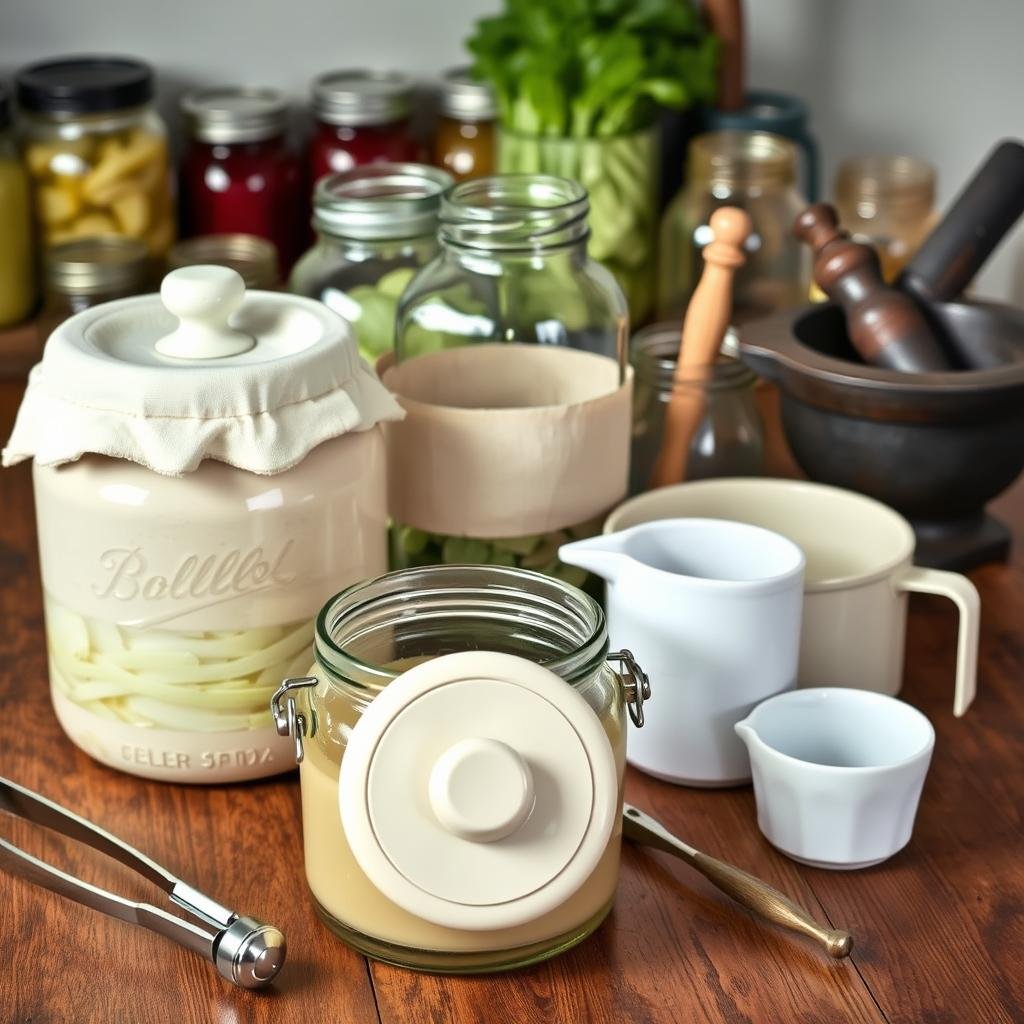
Having the right tools is key for good fermentation. The right equipment makes the process smooth and keeps your food safe and tasty.
Jars and Lids
Choose jars that are strong and won’t react with your food. Glass jars are best because they don’t mix with your ingredients. Make sure they are clean and have tight lids to keep air out.
Weights and Airlocks
You need weights to keep your food under the liquid. Glass weights are good because they’re easy to clean. Airlocks let gases out but keep air in, helping your food ferment well.
Getting the right equipment makes fermenting easier and safer. From picking the best jars to using the right weights and airlocks, each part is important for success.
Preparing the Vegetables
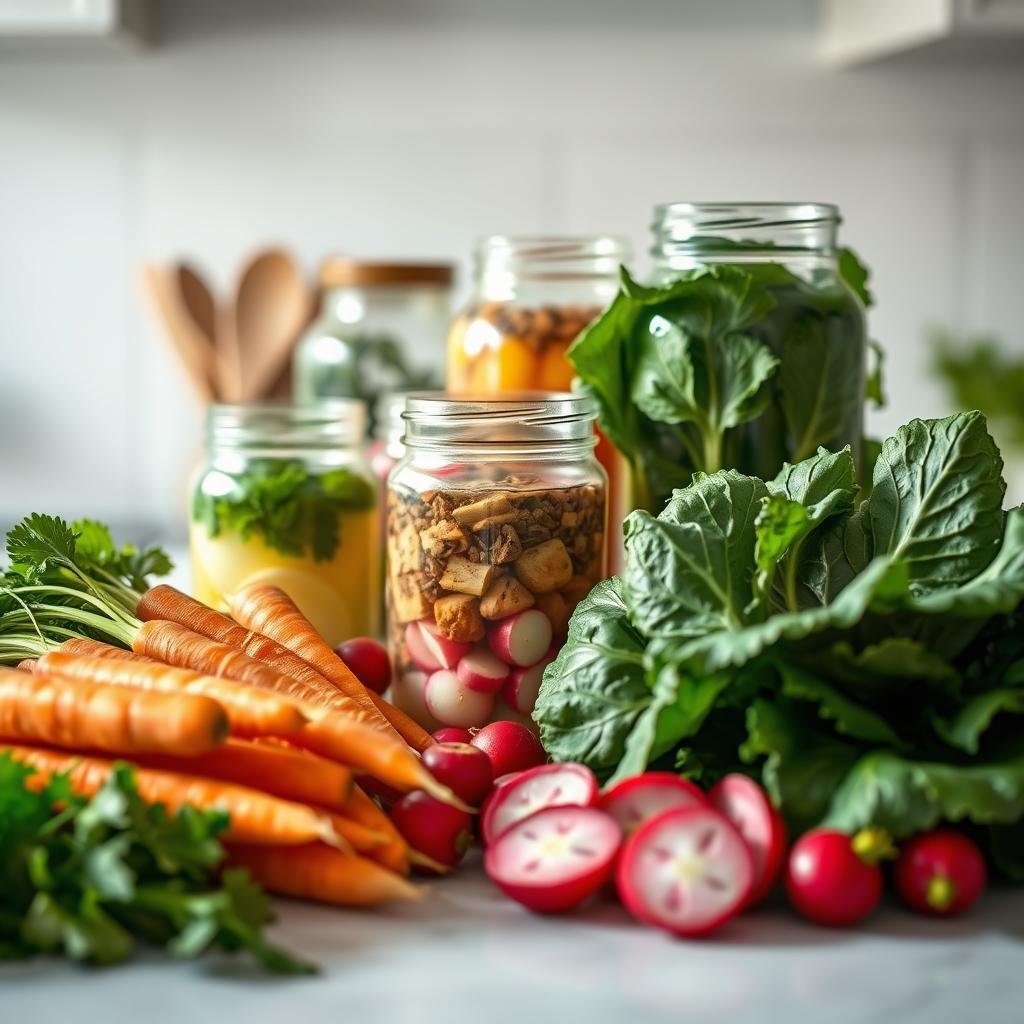
Getting your vegetables ready for fermenting is key to success. You need to clean and cut them right. Also, the right salting is important for great fermentation.
Cleaning and Cutting Tips
First, clean your veggies well. Rinse them in cold water to get rid of dirt and pesticides. Use a brush on tough veggies like carrots.
Think about the size and shape of your cuts. This affects the taste and texture of your fermented veggies. For example, shred cabbage and slice cucumbers. Try different cuts to see what you like best.
Salting Techniques
Salting is vital for fermenting. It helps good bacteria grow. Use sea salt without additives for the best results.
| Technique | Procedure | Best For |
|---|---|---|
| Dry Salting | Sprinkle salt on veggies and massage it in. Let them sit 10-15 minutes to draw out moisture. | Leafy vegetables like cabbage |
| Brine Salting | Dissolve salt in water and soak veggies in it. Make sure they’re fully covered. | Harder vegetables like carrots and radishes |
Choose between dry or brine salting. The right amount of salt is 2-3% of the vegetable’s weight. This helps keep flavors good and veggies crunchy.
The Fermentation Process
The fermentation process is an old way to keep vegetables fresh. It makes them taste better and keeps more nutrients. To get great results, you need to know how to submerge your veggies and how long to let them ferment. Check out this guide for more info.
How to Submerge the Vegetables
First, put your veggies in a clean container like a glass jar. Make sure they’re all covered by brine to keep air out. Use special weights to keep them down. An airlock lid on top helps keep it air-free too.
Fermentation Timeframes
How long it takes to ferment depends on the veggie, the temperature, and how sour you like it. For example, sauerkraut takes 2-3 weeks at room temperature. Pickles might need 1-4 weeks. Warmer places make it faster, cooler places slower.
Check your veggies often to see when they’re just right. Here’s a quick guide:
| Vegetable | Ambient Temperature | Fermentation Timeframe |
|---|---|---|
| Sauerkraut | 65-72°F | 2-3 weeks |
| Dill Pickles | 60-70°F | 1-4 weeks |
| Kimchi | 65-70°F | 1-3 weeks |
For more tips and the best conditions for different veggies, check out this resource.
Monitoring the Fermentation
Properly monitoring fermentation is key for safety and quality. Watch for signs to know when your ferment is ready. Use digital pH meters or pH test strips to check the pH level. It should be below 4.6 to avoid harmful pathogens.
Signs of Successful Fermentation
Knowing the signs of successful fermentation is important. Look for a tangy taste and a fizzy texture. These show your ferment is doing well. The smell should be sour but not bad.
| Successful Signs | Description |
|---|---|
| Tangy Taste | The flavor should have a pleasant sourness without bitterness. |
| Fizzy Texture | Slight bubbles or effervescence in the liquid, indicating active fermentation. |
| Bright Color | Vibrant color that suggests freshness and good fermentation. |
| Pleasant Aroma | A sharp yet agreeable smell, free from foul odors. |
Common Issues and Solutions
During fermentation, you might face some common problems. Mold can appear if the vegetables are not fully covered. Remove the mold and make sure the vegetables are fully in the brine. Keeping the right temperature is also important. Check the starter culture packet for the correct temperature.
By watching the fermentation closely and knowing the signs, you can avoid problems. This way, you can make delicious and safe fermented vegetables at home.
Flavoring Your Fermented Vegetables
Adding unique flavors to your fermented veggies can make them amazing. For those trying out different recipes, the right herbs and spices are key.
Using Herbs and Spices
Spices are important for flavoring veggies. Garlic, ginger, and mustard seeds are popular choices. Fresh herbs like dill, basil, and bay leaf add great taste and smell.
Using a small cabbage leaf helps keep veggies under salt water. This ensures even fermentation. Remember, use 1 1/2 tablespoons of coarse sea salt for every 2 cups of water.
Experimenting with Other Ingredients
Don’t be afraid to try new things. Dried fruits and seaweed can add amazing flavor and texture. Also, using different veggies can change the taste.
Try adding broccoli, radishes, and carrots to your recipes. For more tips on perfect fermentation, check out this guide.
Storage of Fermented Vegetables
Keeping fermented vegetables fresh is key. Good storage helps your hard work last longer. Here are tips for storing and how long they last.
Best Practices for Storage
For the best taste, store them right. Keep them cool, below 50°F (10°C). Use a fridge or a dark basement.
Choose airtight containers. This keeps air out and the fermentation in.
Shelf Life Considerations
The life of fermented veggies depends on several things. These include the veggie type, how salty they are, and where you store them. Usually, they last months to a year if stored well.
Always check for signs of spoilage. Look for bad smells, texture, and color changes.
Ensuring Your Fermented Vegetables are Safe
Fermenting vegetables at home is fun, but safety is key. Keeping your equipment clean and checking salinity and pH levels helps. This reduces the chance of spoilage and harmful germs.
Troubleshooting Unsafe Fermentation
Cleanliness is vital for safe fermentation. Always clean your equipment with hot soapy and rinse it well. Sterilize tools by boiling or using a food-grade sanitizer if needed.
Salinity levels matter too. Use 2-3% salt by weight of the veggies. This stops bad bacteria and helps good microbes grow. Make sure your brine is just salt and water, and all veggies are covered.
Watch the pH levels closely. They should be between 3 and 4. Don’t use metal containers like aluminum or copper. They can react with fermentation acids. Use glass or ceramic instead. Choose salt without anti-caking agents to help good bacteria grow. For more info, check out Clean Food Living’s safety guide.

