How to Make Milk Kefir Grains Step-by-Step
Milk kefir is a creamy, bubbly drink full of health benefits. It’s also tangy and tasty. Making milk kefir grains at home is easy and fun. You’ll get a drink full of protein, calcium, and vitamins B, A, and K.
To start, you need live kefir grains. These are what turn regular milk into this healthy drink. Let’s explore how to make your own milk kefir grains at home. This way, you can enjoy this natural health booster all the time.
What is Milk Kefir?
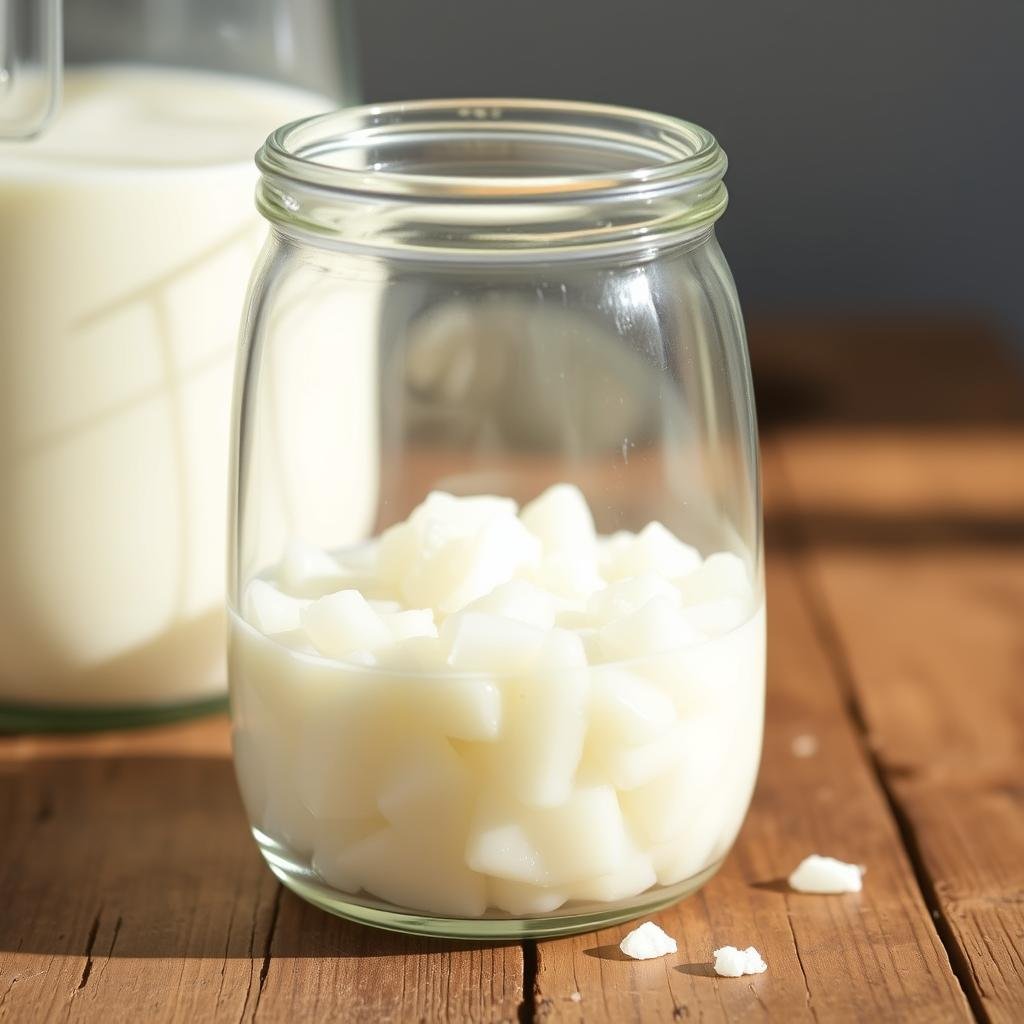
Milk kefir is a fermented milk drink loved for over 2,000 years, mainly in Eastern Europe. It tastes tangy and slightly sour, unlike yogurt. This drink is made with kefir grains, small, white, gelatinous balls.
These grains are like tiny cauliflowers. They have good bacteria and yeasts that ferment the milk. This makes a creamy, probiotic-rich drink called probiotic milk kefir.
The kefir grains come from the Caucasus plains. They grow and ferment milk, making it a drink full of nutrients and probiotics. This drink is good for your digestive health.
Kefir grains can’t be planted or grown. They multiply when cared for, giving you a steady supply of this healthy drink.
Benefits of Homemade Milk Kefir
Homemade milk kefir is full of health benefits. It has lots of probiotics and nutrients. Making it at home means you get the best microbes for your health. This way, you get the most benefits of milk kefir for you.
Probiotic Benefits
Milk kefir is great for your gut. It has many good bacteria and yeasts. These help your digestion and immune system work better.
The fermentation process makes kefir special. It creates compounds that fight inflammation and germs.
Nutrient-Rich Drink
Milk kefir is packed with nutrients. A 1-cup serving of low-fat kefir has:
- Protein: 9 grams
- Calcium: 36% of the daily value (DV) for adults
- Phosphorus: 20% of the DV
- Vitamin B12: 29% of the DV
- Riboflavin (B2): 25% of the DV
- Magnesium: 7% of the DV
- Vitamin D: 12% of the DV
- Calories: 104
- Carbs: 11.6 grams
- Fat: 2–3 grams
Improves Gut Health
Drinking milk kefir often helps your gut. It’s full of probiotics. These keep your gut bacteria in balance.
A healthy gut is linked to better mental health. This shows how good milk kefir is for you.
In short, milk kefir is very good for you. It boosts gut health, gives you important nutrients, and strengthens your immune system. Adding homemade kefir to your diet is a smart choice. It’s tasty and full of health benefits.
Ingredients You Will Need
Making kefir from scratch needs certain ingredients for success. Let’s look at what you need for the perfect fermentation.
Live Kefir Grains
The key to kefir is the live kefir grains. They turn milk into a probiotic drink. You can get them from friends, online, or health stores.
Whole Milk
Use whole milk for the best results. It has more fat, which helps fermentation. Adding 2 cups of milk to 2 tablespoons of grains works well. For more info, check out this guide on making kefir from scratch.
Glass Jar and Lid
A glass jar is your fermentation home. Use a lid that lets air in, like a coffee filter with a rubber band. This lets the grains work their magic.
Other Equipment
You’ll also need a strainer, measuring cup, and thermometer. These tools help make your kefir consistent and high-quality.
How to Make Milk Kefir Grains
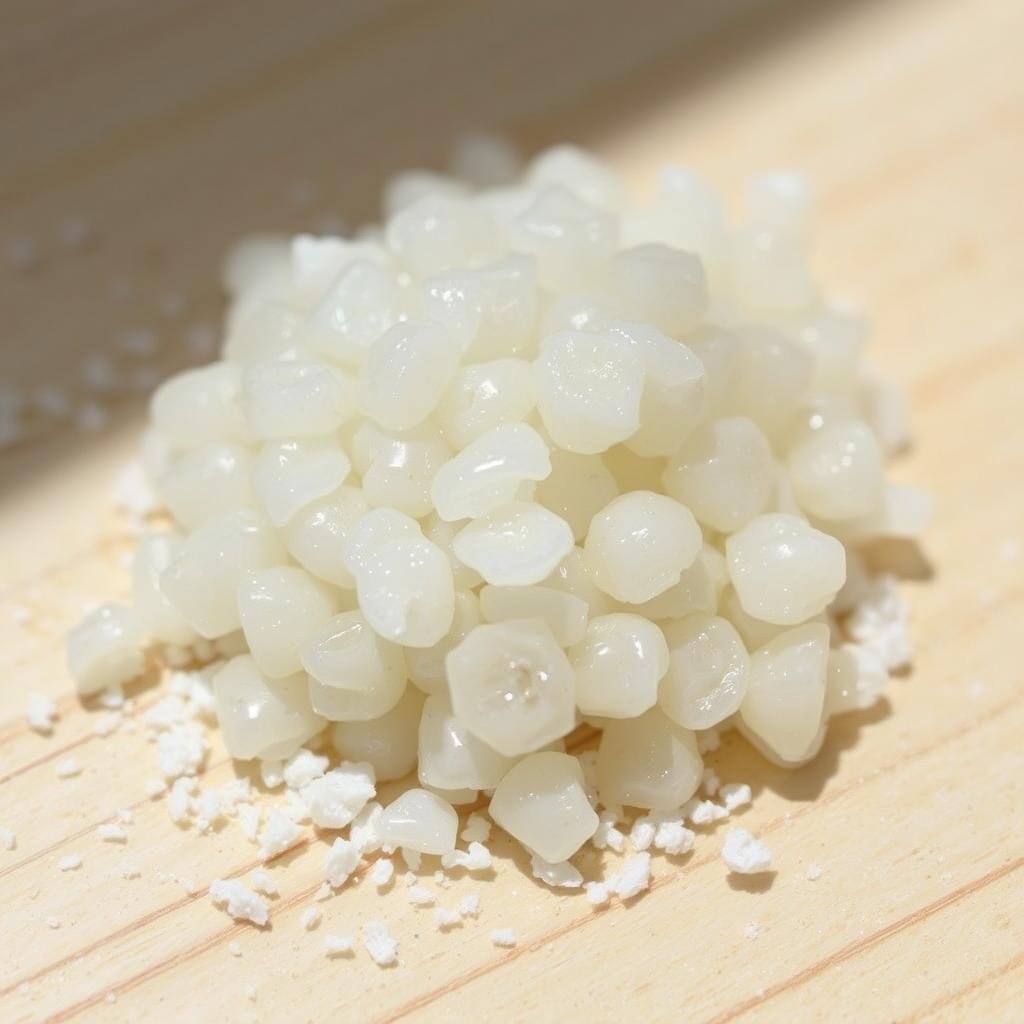
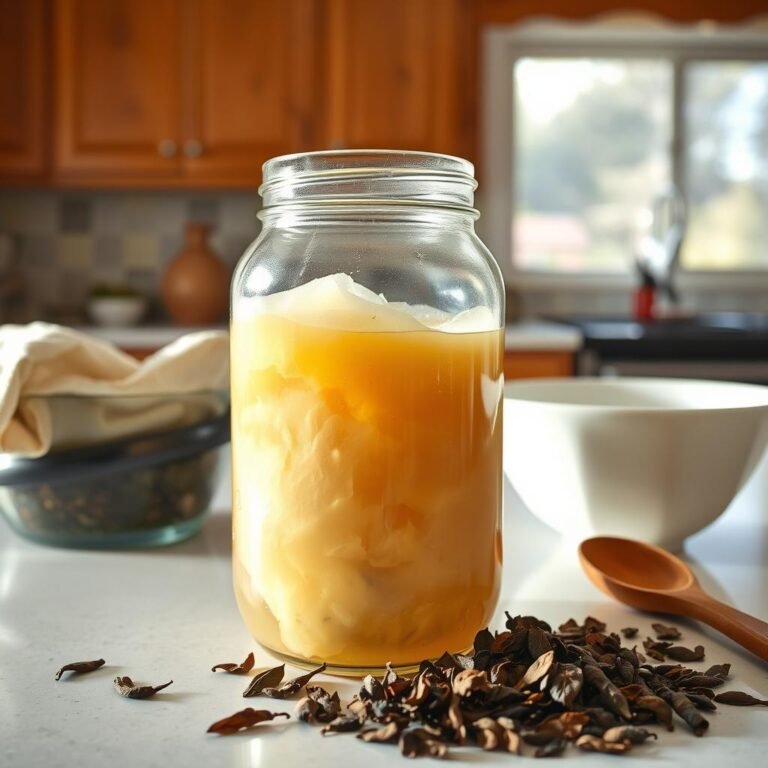
To make milk kefir grains, start by creating a good home for bacteria and yeast. This is key for making kefir. Put live kefir grains in a clean glass jar and add fresh whole milk. Use a lid that breathes, like cheesecloth with a rubber band.
Feeding the grains regularly is important. Every 24 to 48 hours, strain and move them to new milk. This keeps them active and strong. With good care, you’ll get plenty of homemade milk kefir, full of good bacteria and nutrients.
Keeping the temperature right is also important. The best temperature is between 68-78°F (20-25°C). When the grains grow enough, share them with others. This lets them start making kefir too.
| Steps | Details |
|---|---|
| 1. Prepare Equipment | Clean glass jar, lid, cheesecloth, rubber band, strainer |
| 2. Add Grains | Place live kefir grains in the jar |
| 3. Add Milk | Pour in fresh whole milk |
| 4. Cover and Ferment | Secure cheesecloth and let ferment at 68-78°F (20-25°C) for 24-48 hours |
| 5. Strain and Repeat | Strain grains, refresh with new milk, and repeat the fermenting process |
By following these steps and feeding the grains often, you’ll make homemade milk kefir. You’ll enjoy fresh kefir at home and keep your grains healthy for more use.
Step-by-Step Instructions for Making Milk Kefir
Making milk kefir at home is rewarding. Follow these steps for a tasty, probiotic drink. You’ll need to measure grains, add milk, ferment, and store the grains.
Measuring Kefir Grains
Start by measuring the kefir grains. You need 1-2 tablespoons for 2 cups of milk. The right amount is key for good fermentation.
Adding Milk
Put the grains in a glass jar. Then, pour fresh whole milk over them. Make sure the milk covers the grains.
Fermentation Process
Cover the jar with a cloth and a rubber band. This lets it breathe and keeps out contaminants. Let it ferment at room temperature for 12 to 36 hours. The longer it ferments, the tangier it gets.
Straining and Storing Kefir Grains
Strain the kefir after fermentation. Use a plastic strainer to separate the grains from the liquid. The liquid kefir is ready to drink or store in the fridge. Rinse the grains and store them to keep them active for the next batch.
Tips for Successful Milk Kefir Fermentation
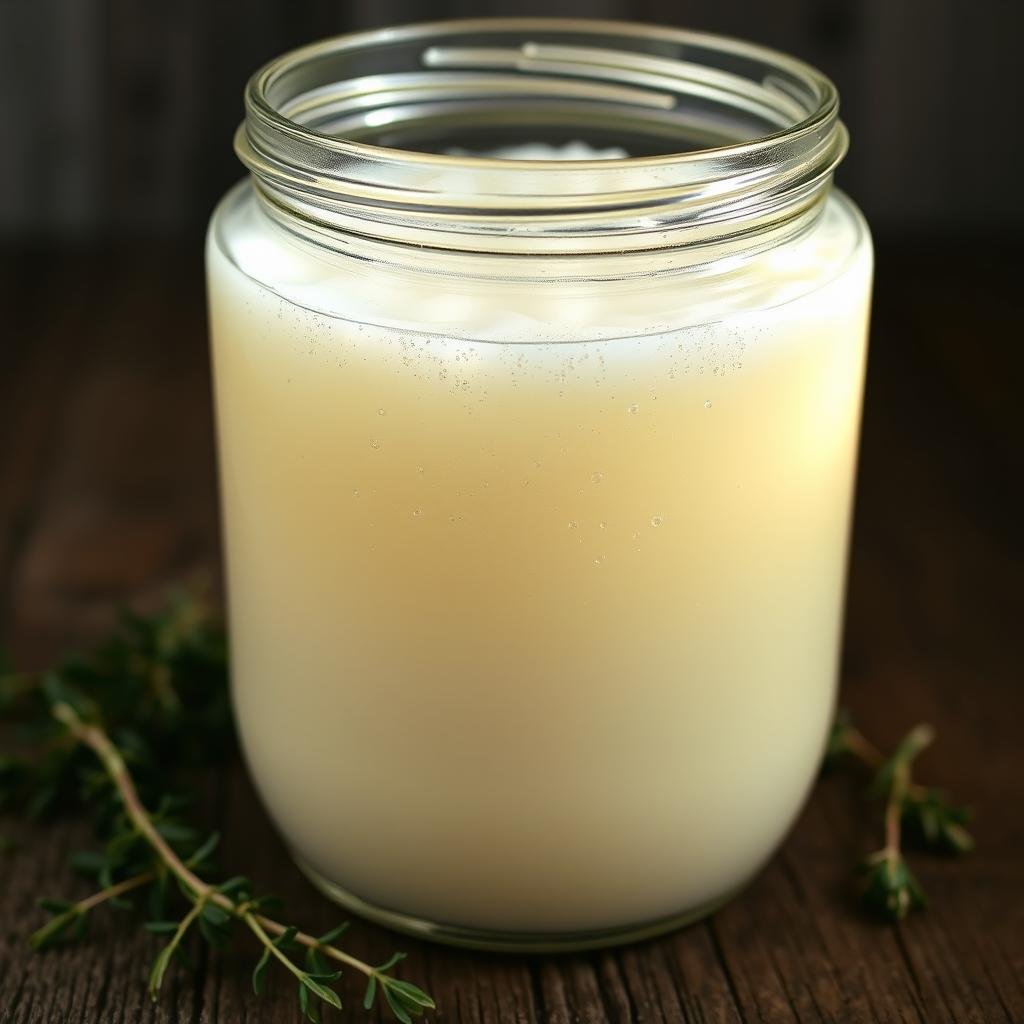
To get perfect kefir, you need a few key things. These tips will help your milk kefir grow well and taste great.
Optimal Temperature
Keeping your kefir at the right temperature is very important. It should be around 70-75°F. This helps the bacteria grow well and makes the fermentation process balanced.
Understanding Fermentation Time
Knowing how long to ferment your kefir is also key. If it ferments too long or too short, it can change the taste and texture. For milk kefir, ferment it for 24-48 hours. This lets the good bacteria grow, making your kefir creamy and slightly tangy.
Dealing with Whey Separation
Whey separation is normal during fermentation. It means your kefir is working well. If it’s too much, just stir it gently or ferment it for less time. These changes will help you get the right consistency and taste in your kefir. For more tips and info on growing kefir grains, check out this resource here.
Common Troubleshooting
Making milk kefir at home can sometimes be tricky. You might face issues like slow fermentation or changes in flavor. Knowing how to fix these problems is important for a good brew.
Adjusting Fermentation Based on Temperature
Temperature affects how fast kefir ferments. If your kefir ferments too fast, try changing the room temperature. Cooler temperatures slow it down, while warmer speeds it up.
Keep your kefir in a room with a steady temperature. Aim for 68°F to 78°F.
Controlling Sourness and Thickness
To control the flavor of your kefir, adjust the fermentation time. If it’s too sour or thick, it’s fermented too long. Shortening the fermentation time helps.
Also, make sure to stir the kefir well. This keeps it the right consistency and taste.
Reviving Dormant Kefir Grains
Reviving inactive kefir grains takes time and patience. Start by putting the grains in fresh milk for shorter times. Then, slowly increase the time for each batch.
This method helps the grains get active again. They will ferment well once more.
Storing Milk Kefir and Kefir Grains
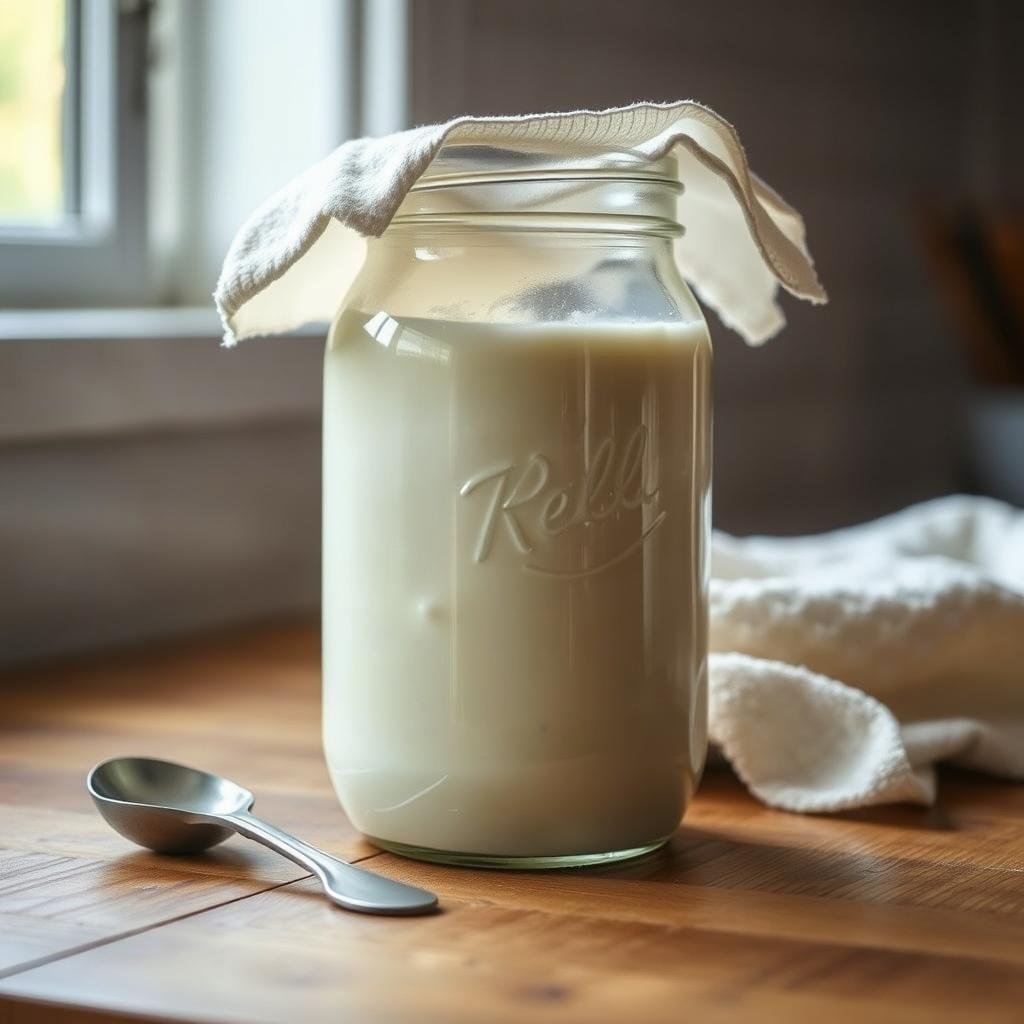
Storing homemade milk kefir and kefir grains right is key. It keeps them fresh and good for longer. By doing it right, your kefir stays fresh and your grains are ready for next time.
Refrigeration Tips
The fridge is the best place for your kefir. Put it in a sealed container to keep it clean. You can keep it fresh for up to two weeks. It keeps its good bacteria and nutrients.
Long-term Storage for Kefir Grains
For keeping kefir grains longer, put them in fresh milk in a sealed container. This keeps them good for up to three weeks. Always use fresh milk to keep them healthy.
| Storage Method | Duration | Notes |
|---|---|---|
| Refrigerating Milk Kefir | Up to 2 weeks | Keep in a sealed container |
| Kefir Grain Storage in Fresh Milk | Up to 3 weeks | Use a tightly sealed container |
By using these storage tips, your homemade kefir and grains will last longer. Keeping your kefir in the fridge and storing grains right lets you enjoy it for more time.
Choosing the Best Milk for Kefir
Choosing the best milk for kefir is key to making great kefir. Whole cow’s milk is often the top choice. It has lots of nutrients and the right amount of fat. This makes the kefir creamy and flavorful.
There are other suitable milk kefir choices too. Raw and pasteurized milk work well. But, stay away from ultra-pasteurized milk. It’s too hot and messes up the fermentation.
If you want to try non-dairy milk, coconut, almond, and soy milk are good. But, mix them with dairy milk sometimes. This keeps the kefir grains healthy and working well.
- Whole cow’s milk: Rich and creamy, ideal for best kefir results.
- Raw milk: Offers unique probiotic benefits.
- Pasteurized milk: Convenient and effective for fermentation.
- Non-dairy alternatives: Coconut, almond, and soy milk can be used with occasional dairy rotation.
When picking the best milk for kefir, think about the milk type and how you ferment it. This will help you make delicious homemade kefir.
Using Kefir in Recipes
Kefir in recipes adds probiotics and a tangy taste. It’s great in smoothies or creamy dressings. Here are some kefir-based dishes to try at home.
Kefir Smoothies
Milk kefir is easy to use in smoothies. It makes your smoothie richer in probiotics and tangier.
- Berry-Kefir Smoothie: Blend kefir with mixed berries, banana, and honey.
- Green Kefir Smoothie: Mix kefir with spinach, avocado, and orange juice.
- Tropical Kefir Smoothie: Combine kefir with mango, pineapple, and coconut flakes.
Kefir Cheese and Dressing
Make kefir cheese or use it in dressings. Strain kefir through cheesecloth to get the right thickness.
- Kefir Cheese: Spread on crackers or use as a dip.
- Kefir Ranch Dressing: Mix kefir with garlic, parsley, dill, and vinegar.
- Kefir Caesar Dressing: Combine kefir with anchovies, parmesan, and lemon juice.
Other Creative Uses
Kefir-based dishes are not just for smoothies and dressings. Try it in marinades, cream sauces, or baked goods for extra moisture.
- Kefir Marinade: Use for tenderizing and flavoring meats like chicken or beef.
- Kefir Cream Sauce: Perfect for pasta dishes, blended with herbs and garlic.
- Kefir Soup: Stir kefir into chilled soups for a refreshing tang.
Kefir Grains and Non-Dairy Alternatives
Looking to avoid dairy? Non-dairy milk kefir is a great choice. You can make kefir with coconut, almond, or soy milk. These options are lactose-free and full of probiotics.
Kefir grains love dairy milk for refreshing. They need nutrients found in dairy to stay healthy. If you use plant-based milk, mix in dairy milk sometimes. This keeps your grains happy and active.
| Type of Milk | Flavor Profile | Additional Tips |
|---|---|---|
| Coconut Milk | Rich, creamy with a hint of coconut | Use full-fat coconut milk for better consistency. |
| Almond Milk | Light, nutty taste | Ensure it’s unsweetened to avoid altering fermentation. |
| Soy Milk | Smooth, mild flavor | Select organic, non-GMO soy milk for the best results. |
Try different plant-based milks for tasty kefir. You can enjoy non-dairy kefir while sticking to your diet. With a little care and dairy milk, your kefir grains will keep making healthy kefir.
Health and Safety Considerations
When making homemade kefir, keeping things clean is key. This helps avoid contamination and makes sure the kefir is safe to eat. It’s also important to think about health when drinking kefir.
For those new to kefir, start with small amounts. The probiotics can upset your stomach if you drink too much at first. So, start slow to avoid any discomfort.
Some people need to be extra careful with kefir. Those with milk allergies should stay away unless it’s made with non-dairy milk. People who can’t digest lactose might find kefir okay, but start small to see how it goes.
People with diabetes should watch their sugar intake. Choose plain kefir without added sugars to keep blood sugar levels stable. If you have a weak immune system, talk to a doctor before trying kefir. There’s a small chance of getting sick from it.
When making kefir at home, follow the recipe and use clean techniques. This helps avoid bad bacteria. For more info, check out this article on health and safety considerations for kefir
Remember, kefir is a healthy drink but not a medical substitute. Always drink kefir safely, following the advice of health experts.
Why Making Your Own Milk Kefir is Worth It
Making milk kefir at home has many benefits. One big plus is its high probiotic content. Homemade kefir often has more probiotic strains than store-bought. These strains help keep your gut healthy and boost your immune system.
Another great thing about homemade kefir is you can control its quality and taste. You pick the best milk and adjust fermentation times to your liking. This way, you make kefir that fits your diet and taste perfectly.
Also, making kefir at home can save you money in the long run. Kefir grains grow with each batch, so you can keep making kefir without buying it. Plus, you can store homemade kefir in the fridge for up to three weeks. For more on the benefits of homemade kefir, check out this resource.
